Prototype Process
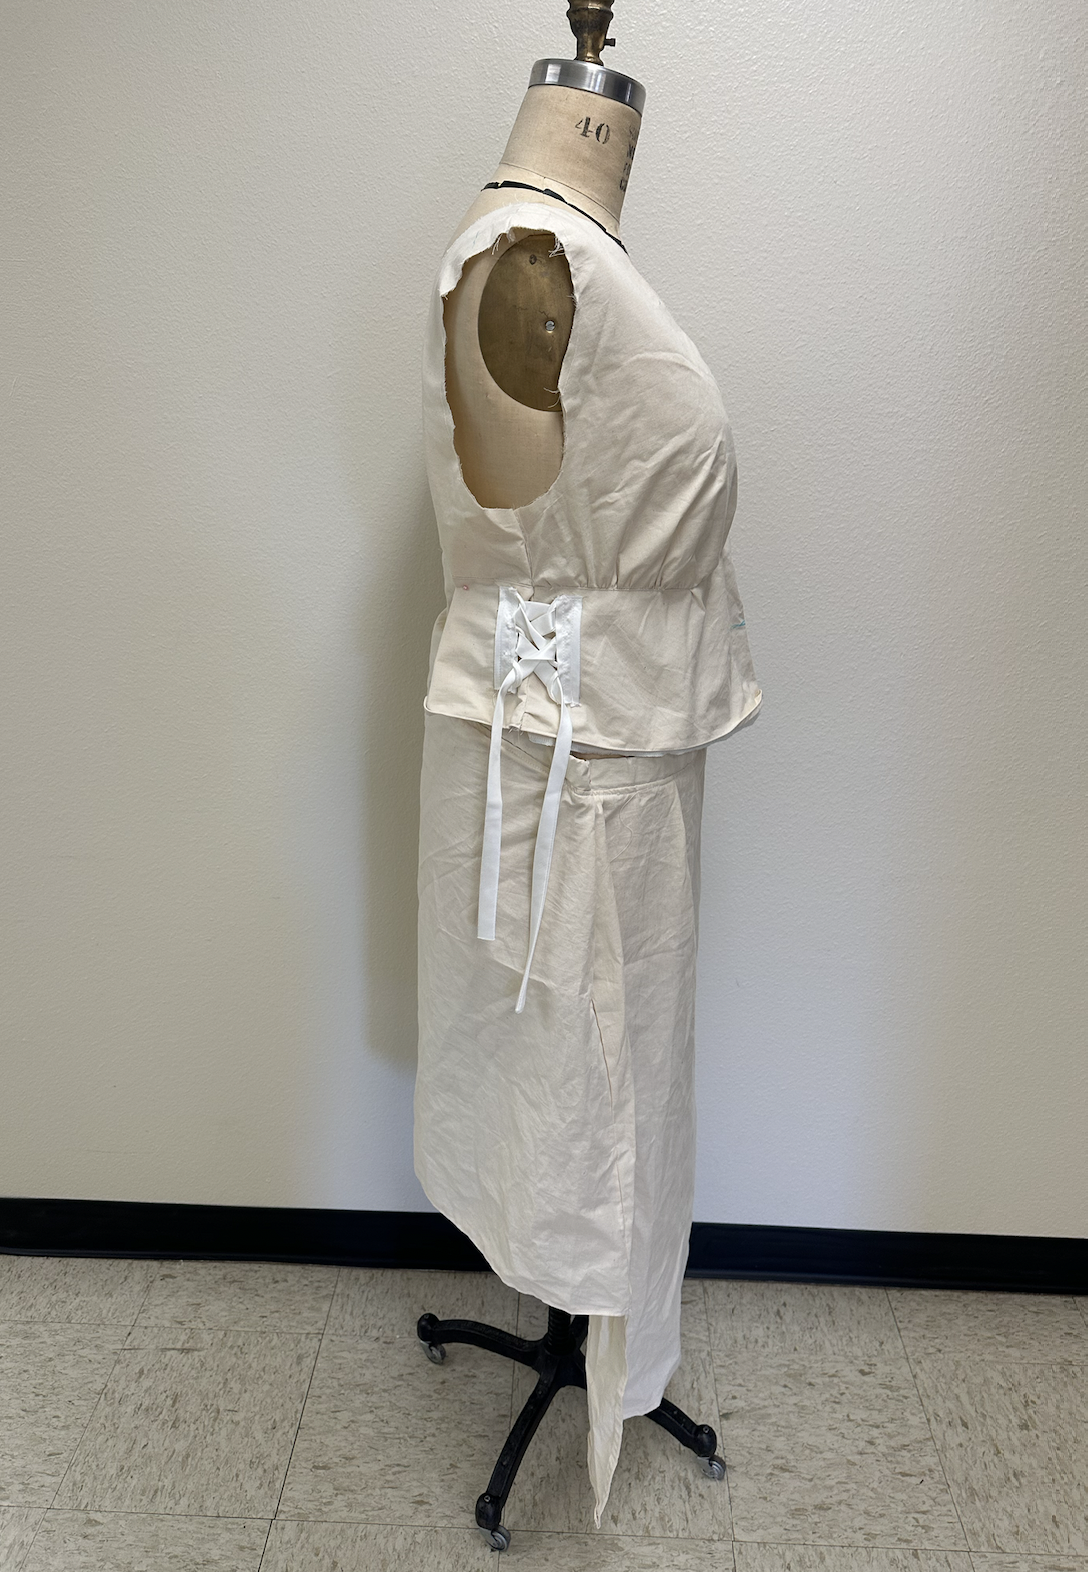
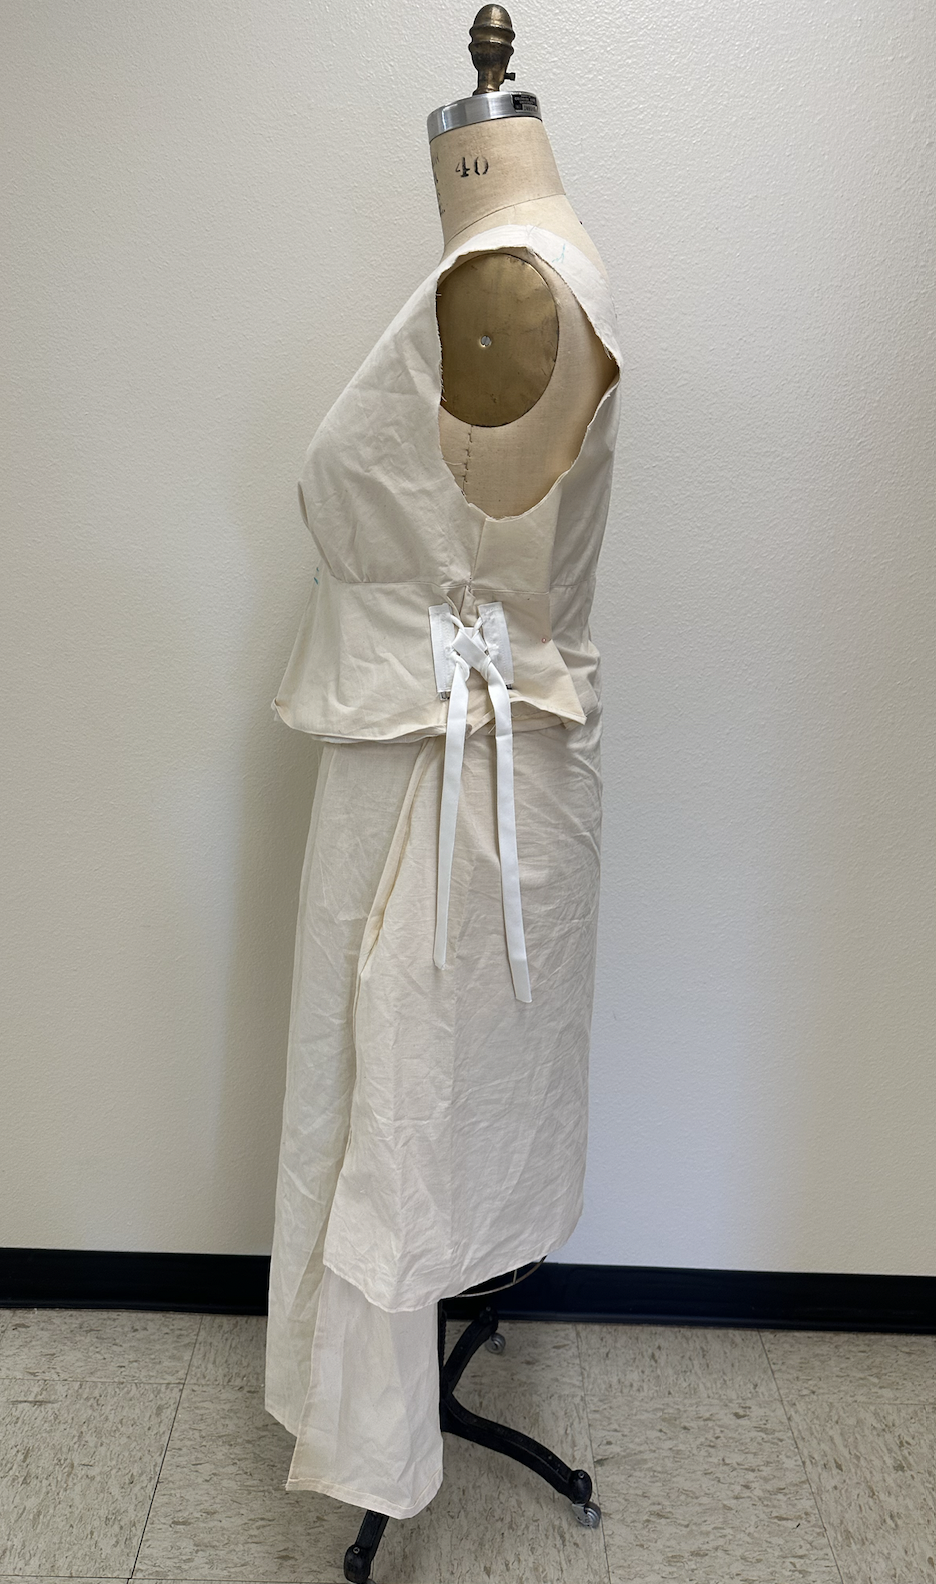
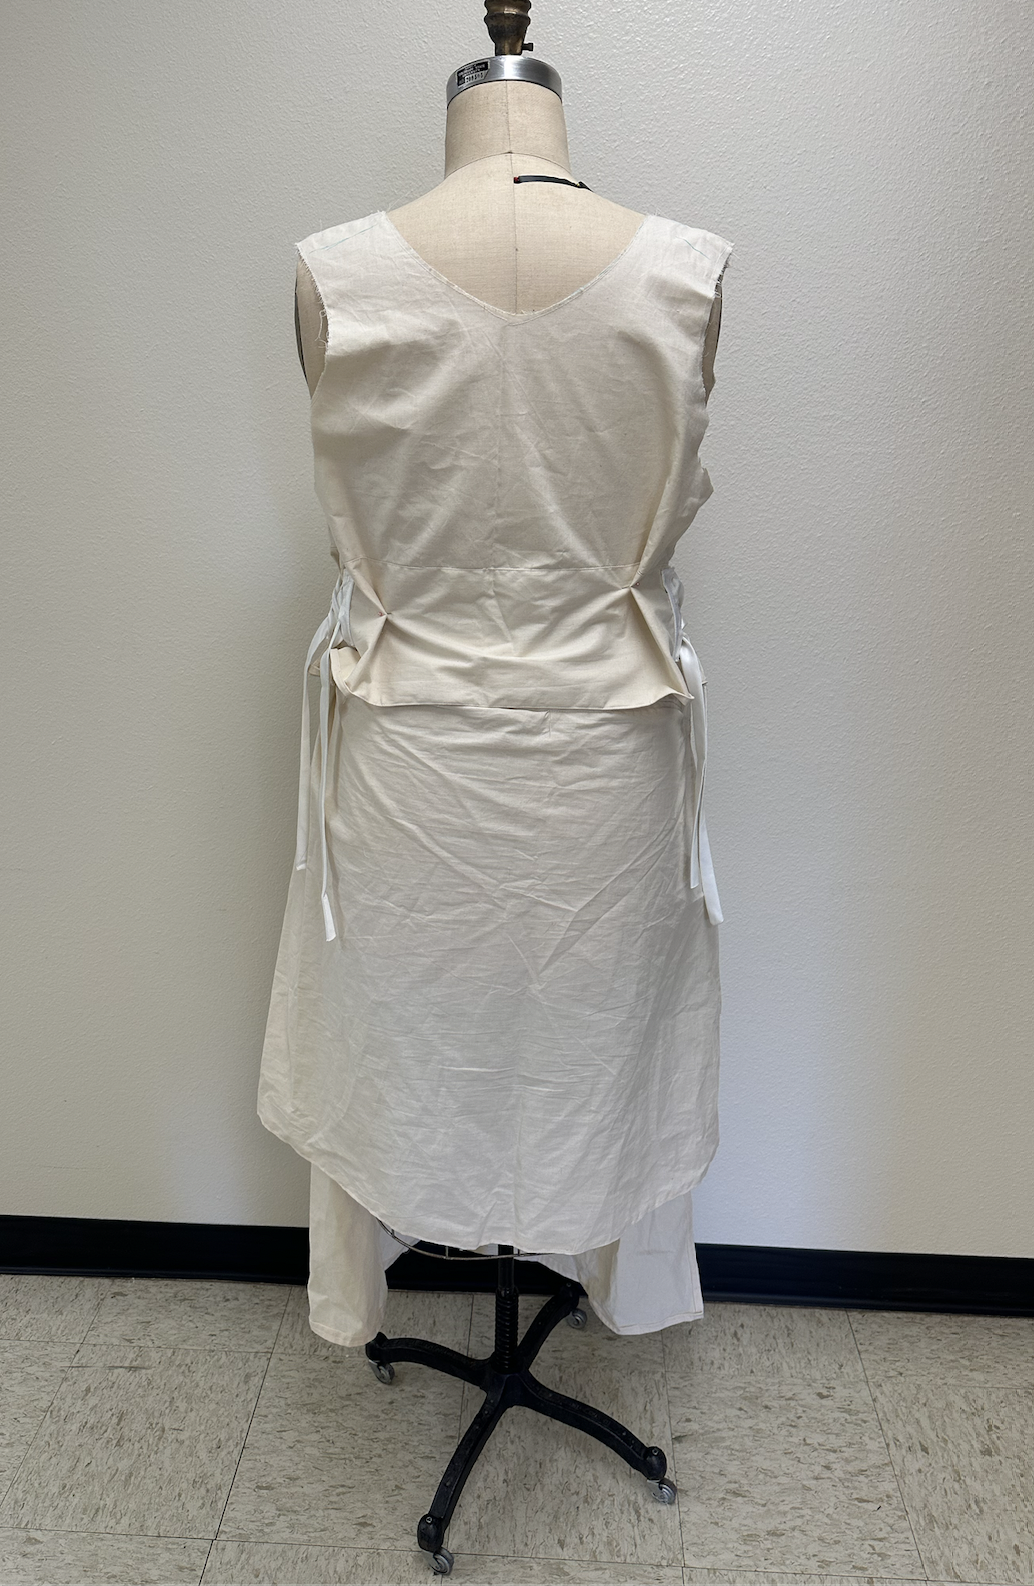
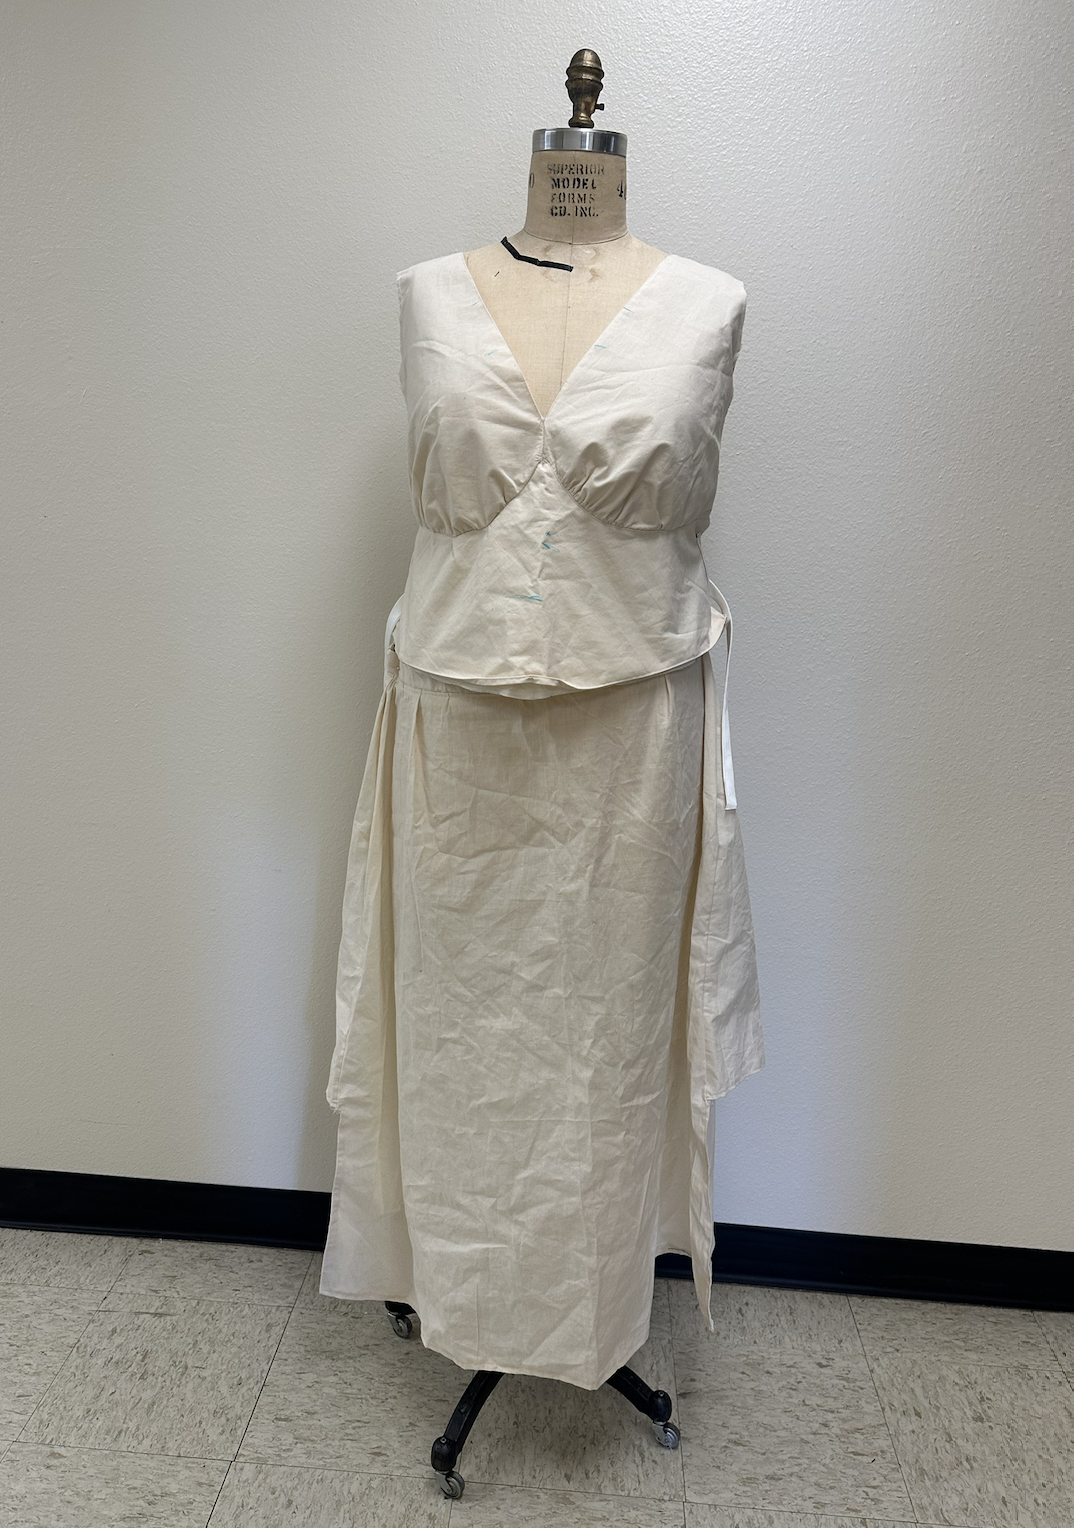
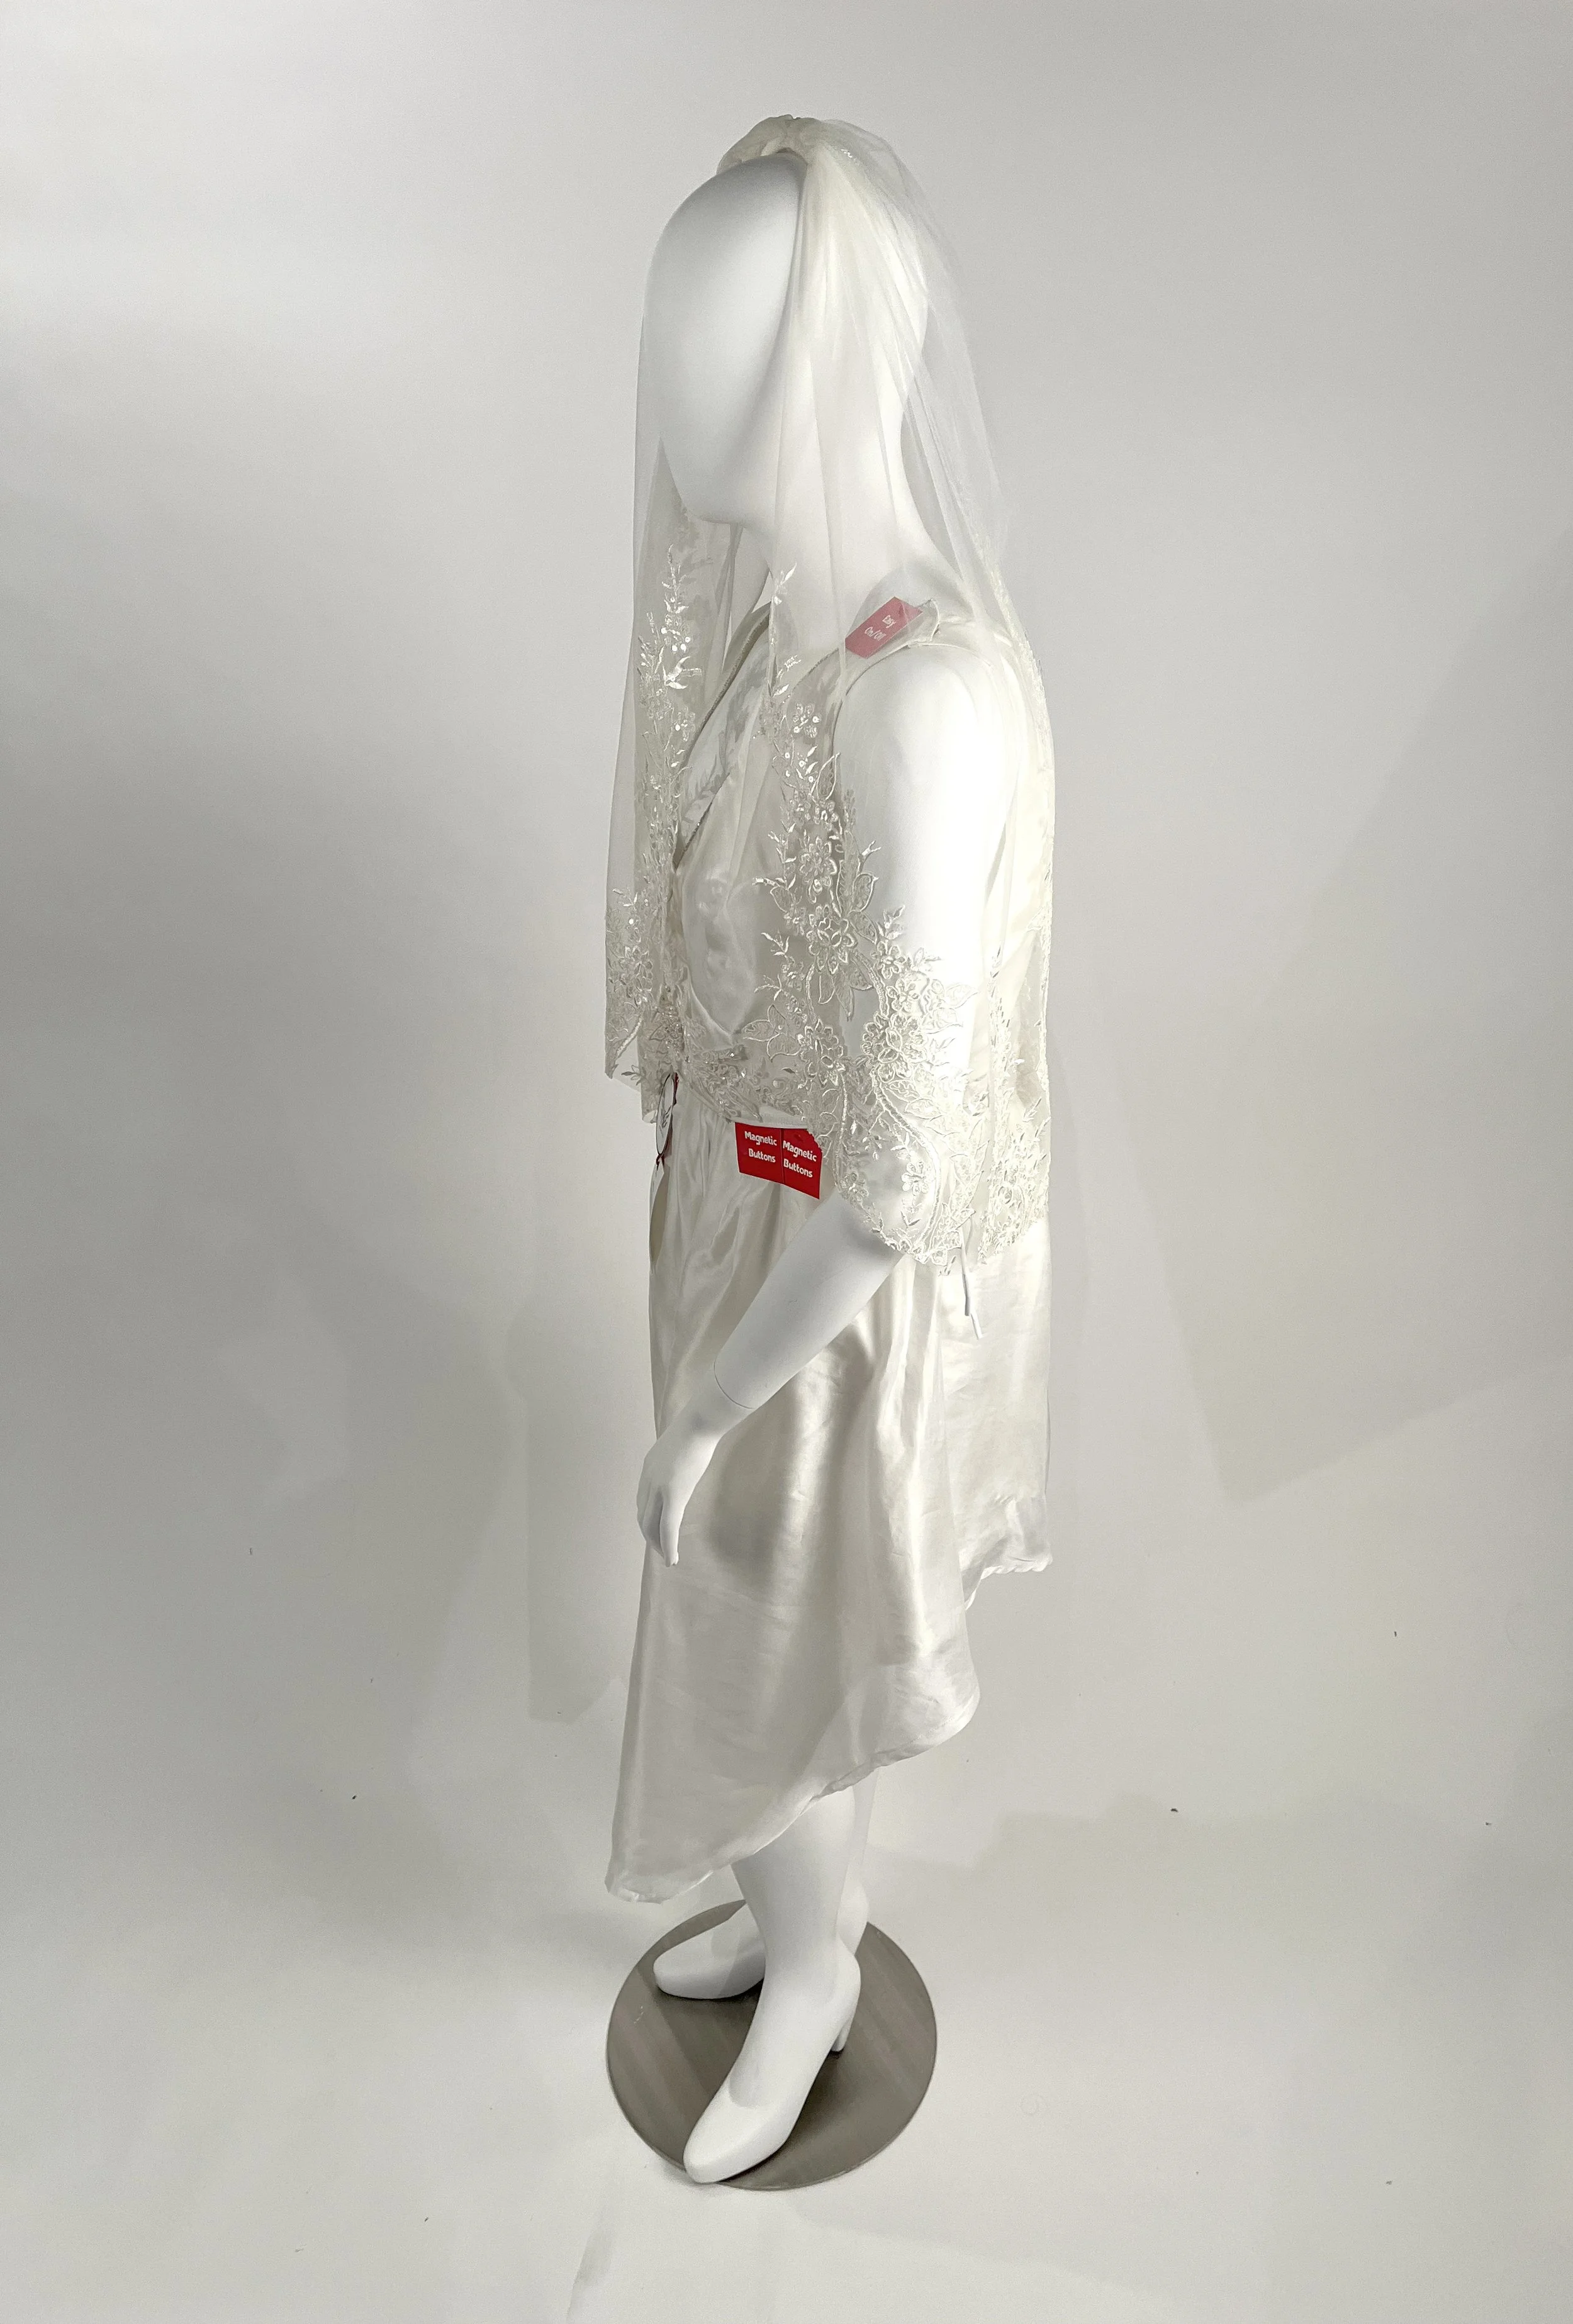
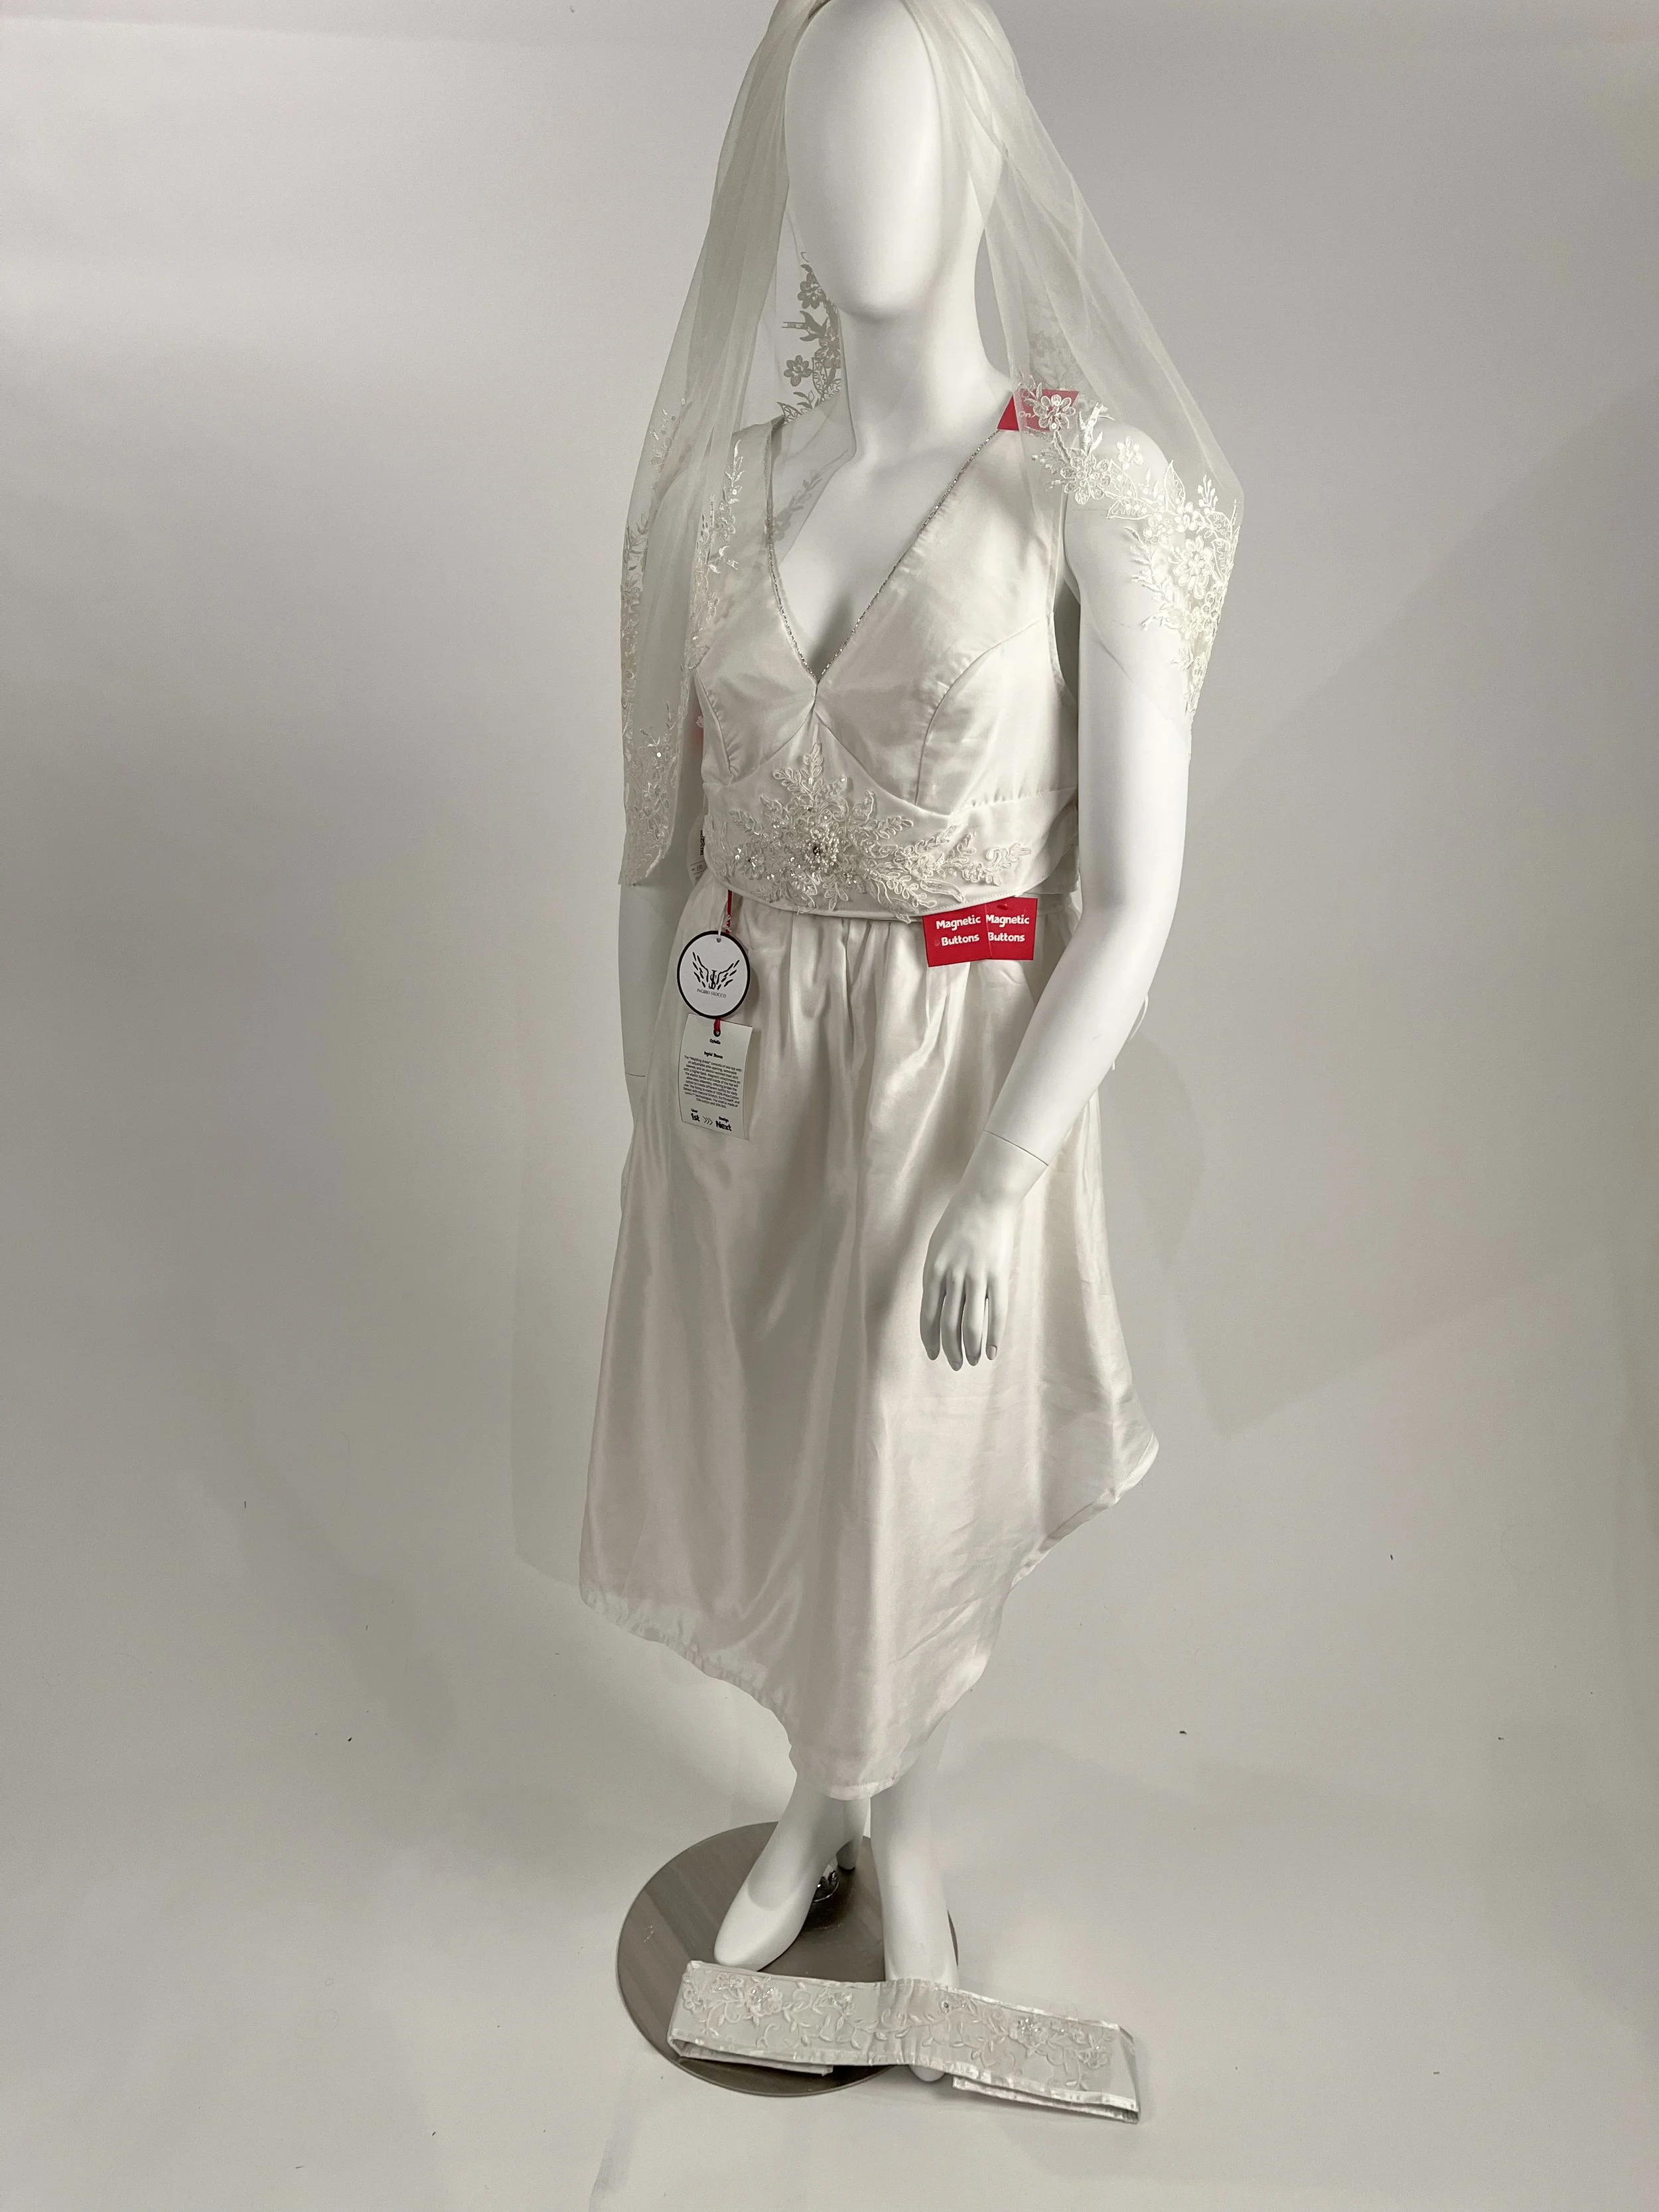
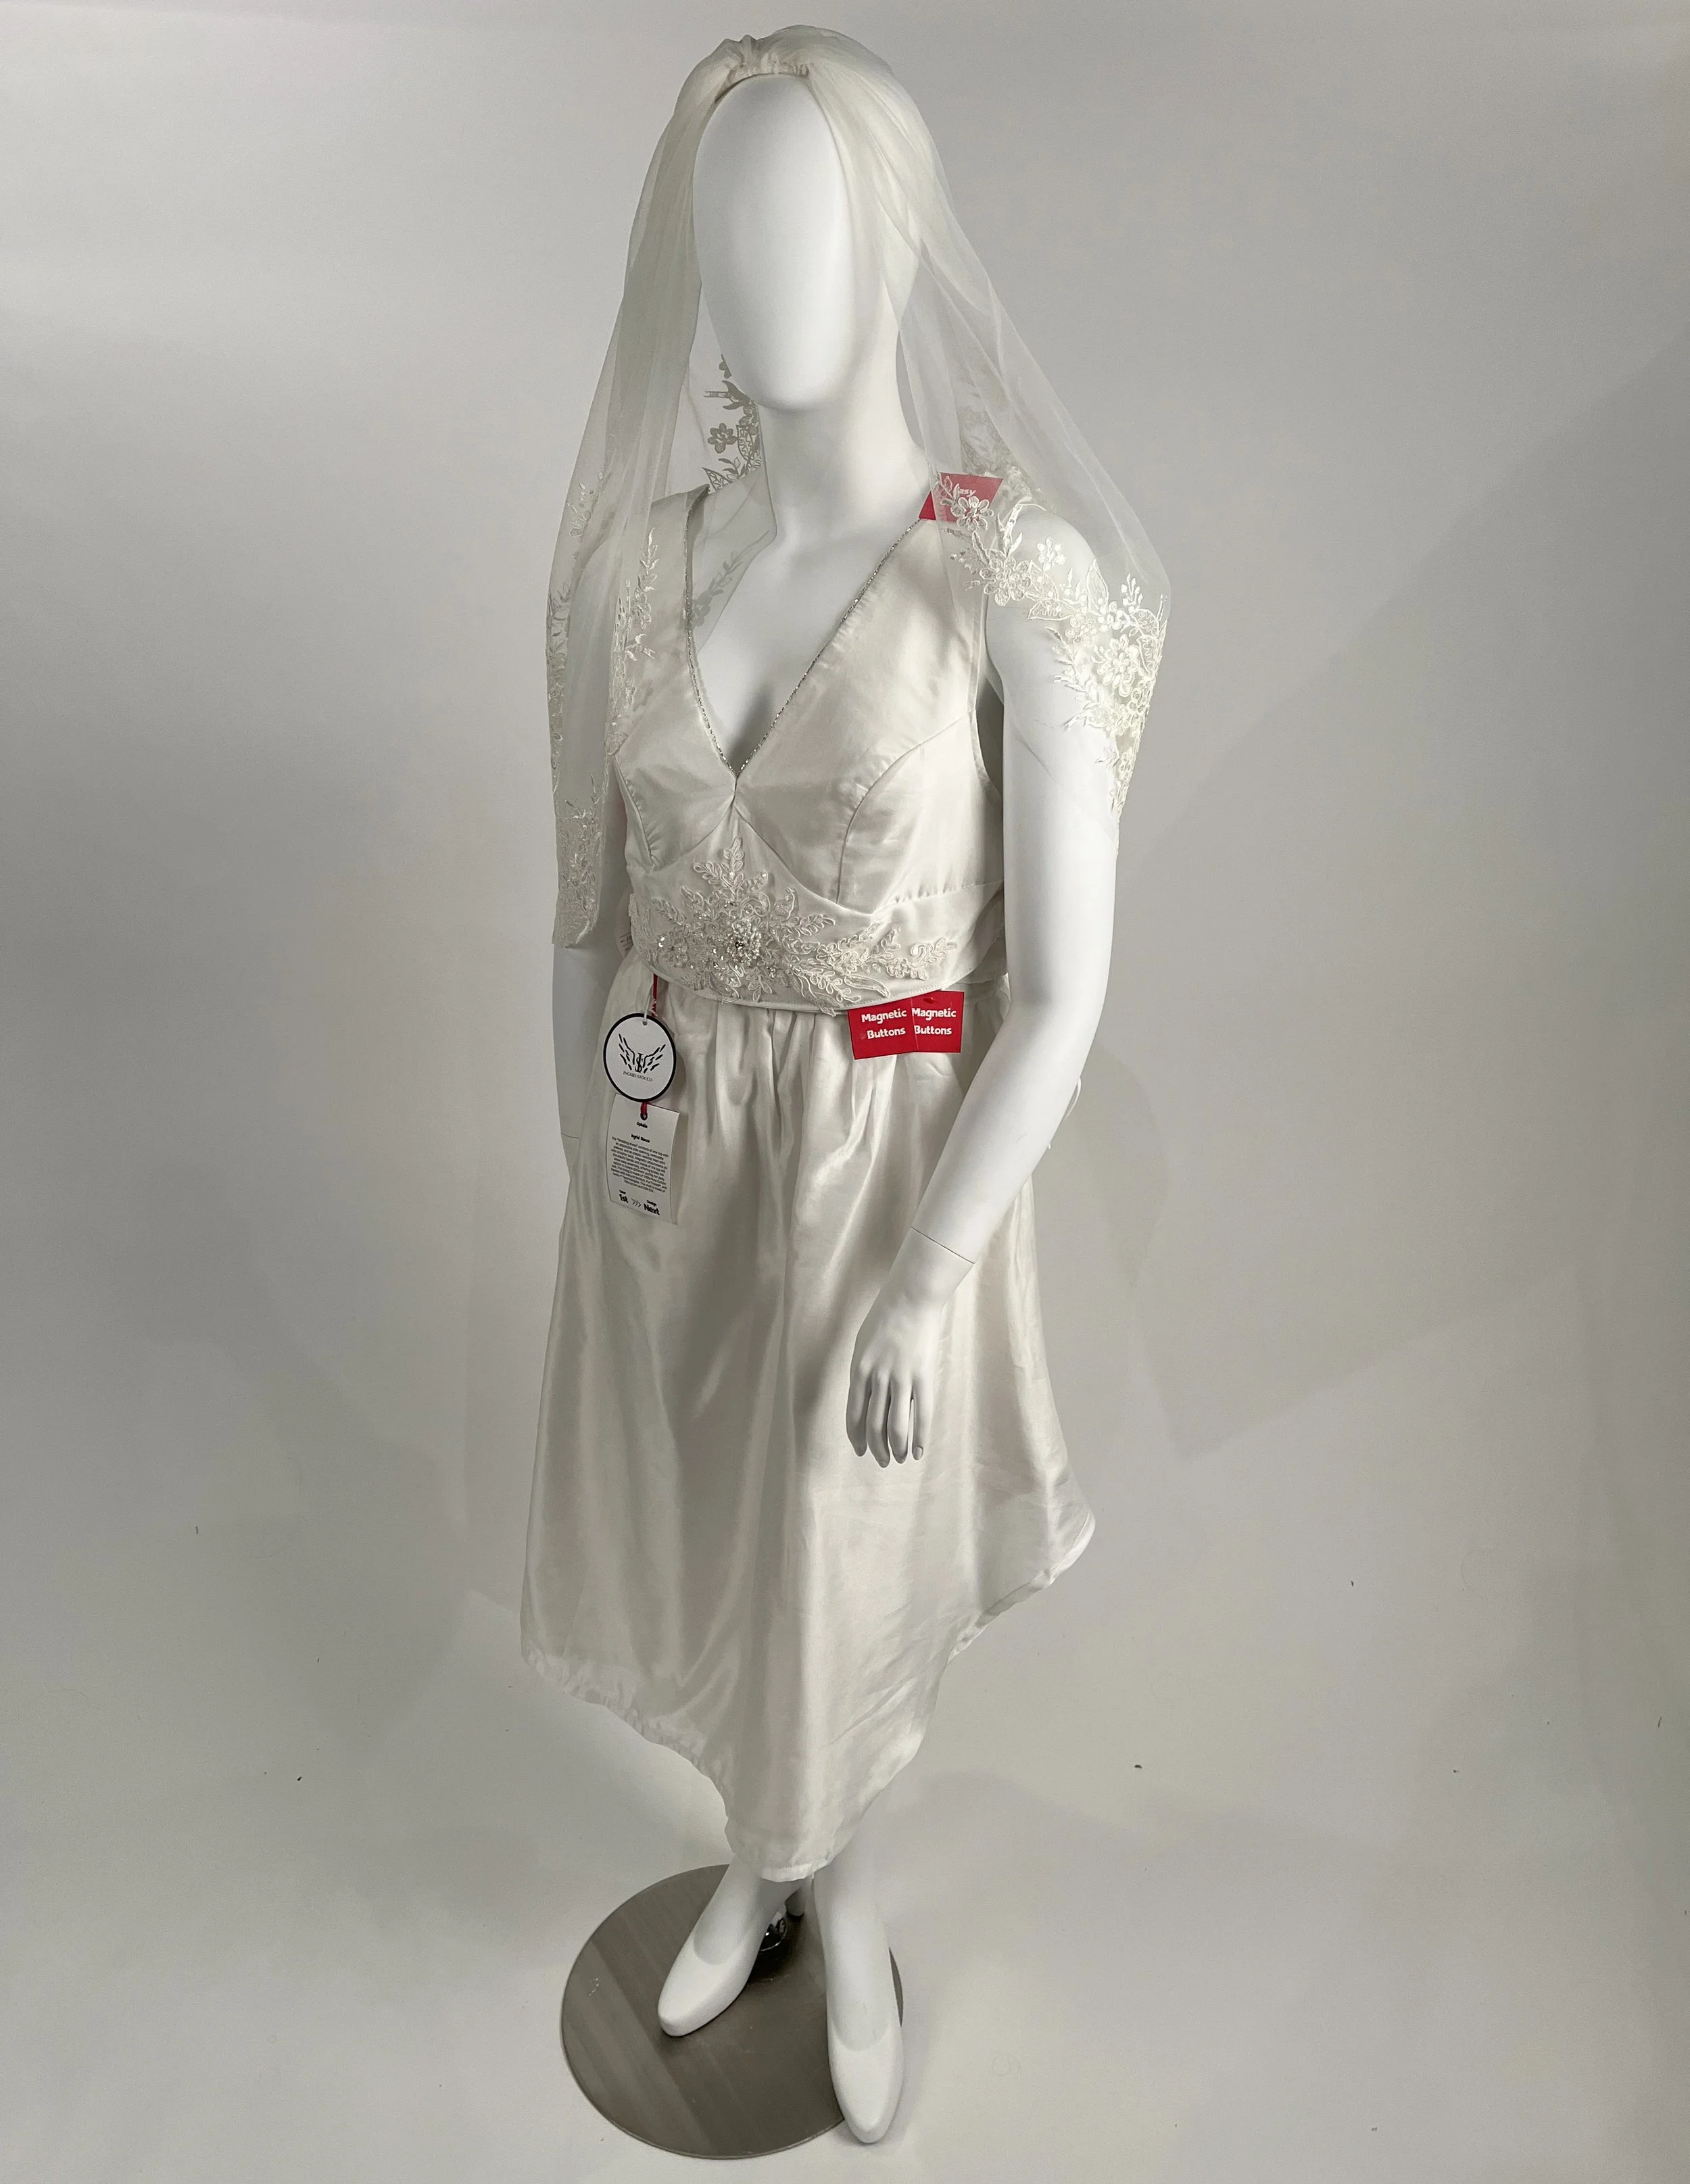
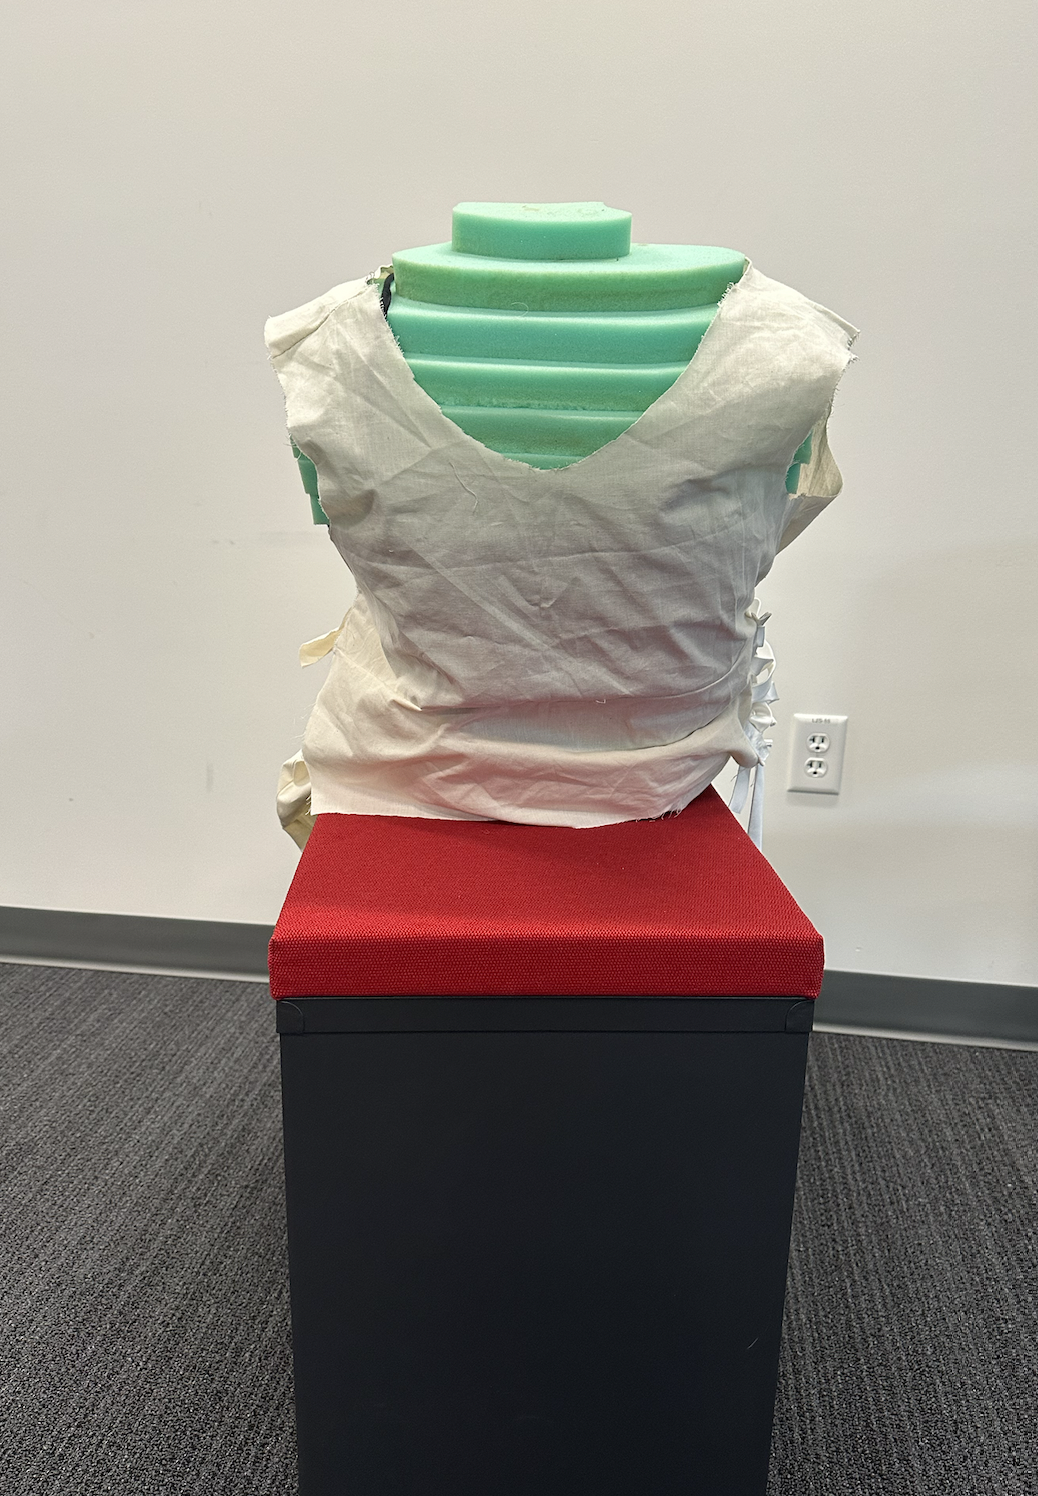
The Wedding Dress was selected during the physical prototyping phase of the project to assess the translation of its hypothetical value into real-world functionality. My focus was on testing the side opening and higher back skirt to identify and address any potential issues related to materials interactions and fit concerns. For the prototype, the dress was made of 100% muslin fabric, while the final sample featured 100% Pima Cotton with Natural Stretch and Ionic+ technology, complemented by a 70% cotton/30% silk shell. The entire process unfolded in three phases, with each sample incorporating additional features along the way.
Phase 1
To begin the process, we were provided with 3D scans of our models and a few block patterns to create the garment patterns
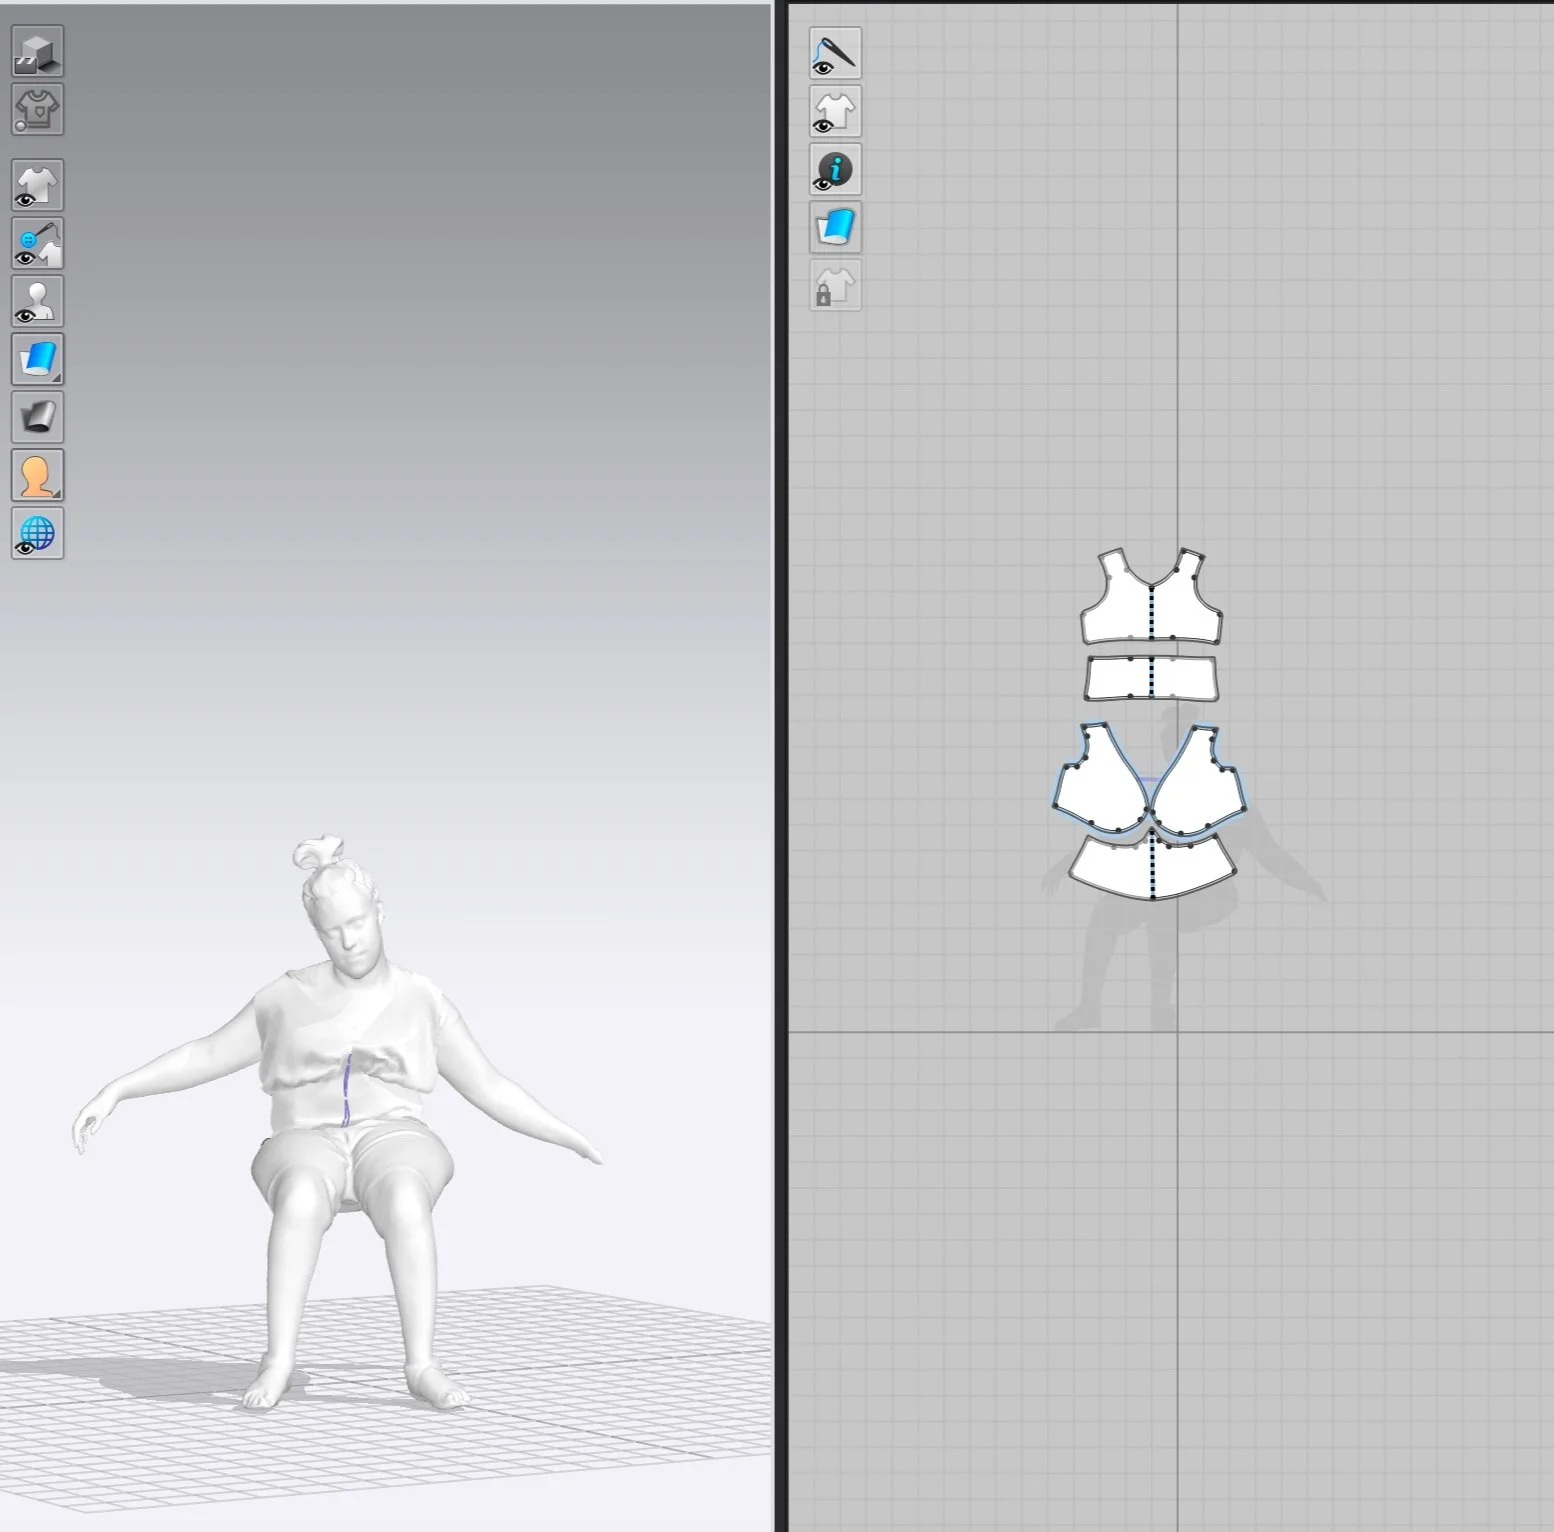
Unfortunately, the measurements on CLO3D were a little off in comparison with Libby’s (my model) measurements. We were also provided with a foam mannequin with the measurements from the 3D Scanner.
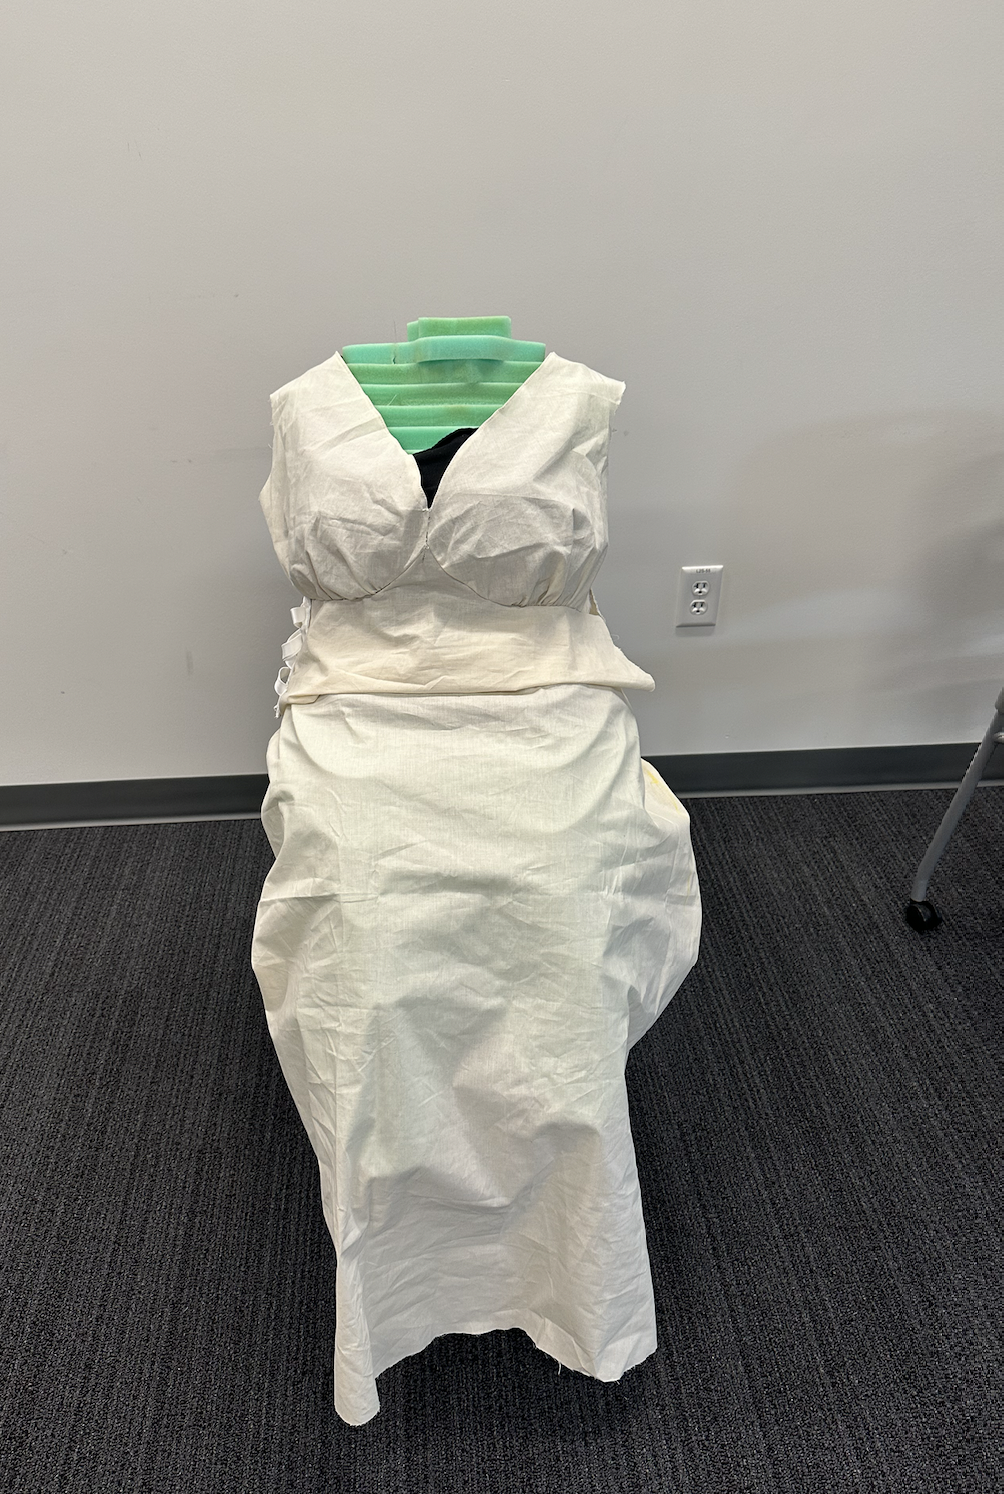

After fitting in the foam mannequin, I noticed that I needed to make a few changes.
Increase 2 inches on the side since it was a little too tight in the belly area
I’ve tried the maxi skirt, and I thought it was too hard for me to get inside, so I decided to change the design and make the back shorter than the front
Increase 2 inches in the shoulder area
I also had to find a solution to ensure the skirt is more relaxed around the hips while being narrower at the knees. This adjustment is necessary to prevent the skirt from getting caught in the wheelchair.