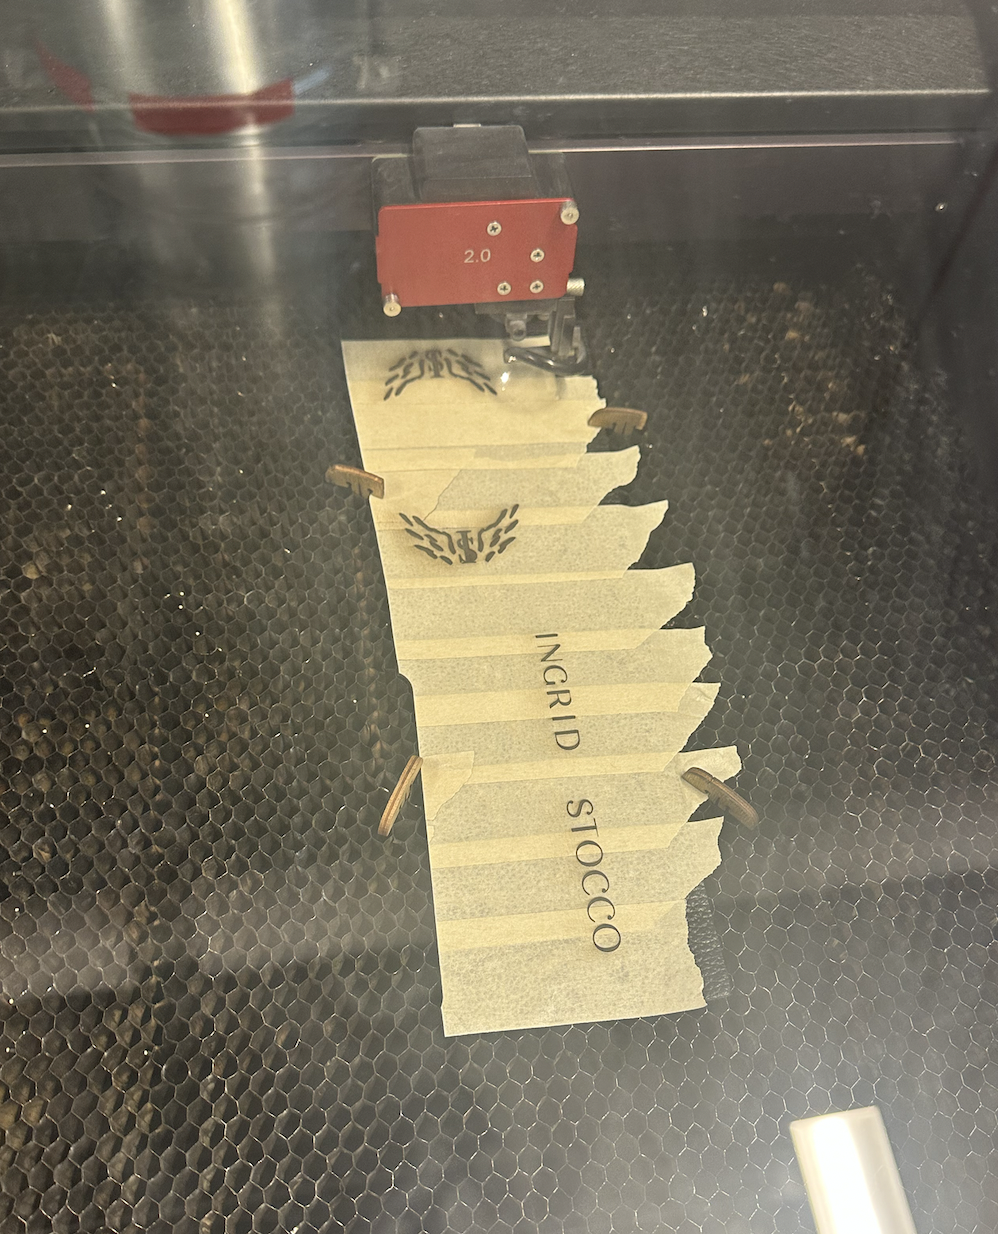
I started my process by cutting the fabric with the laser cutter.
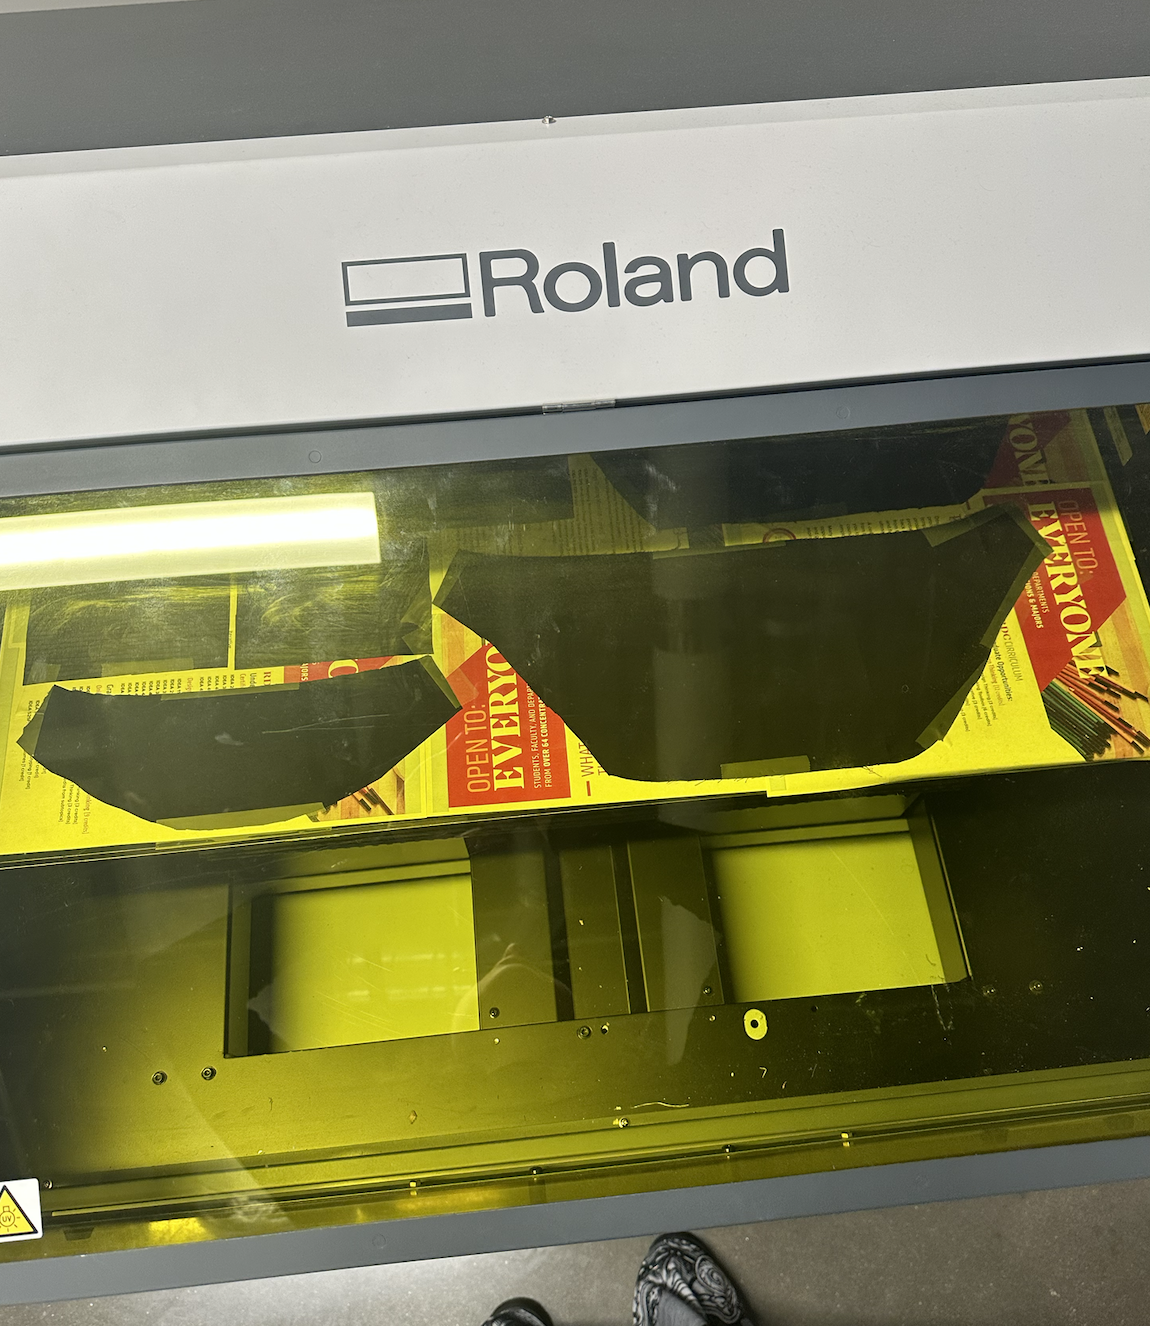
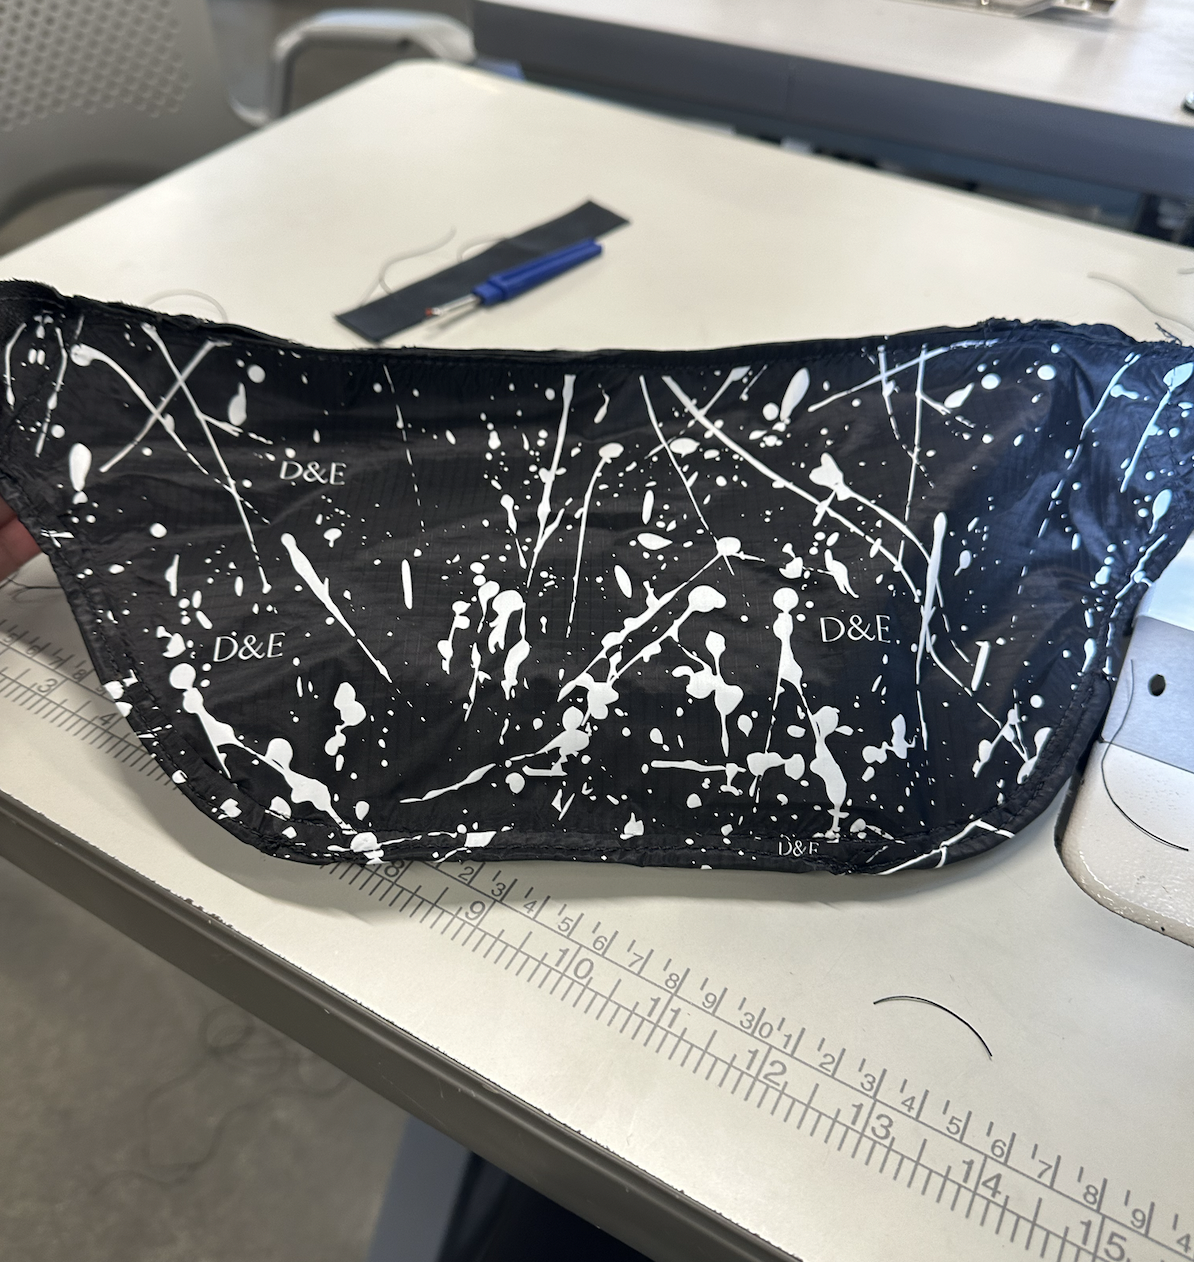
When I finished the front pocket prototype, I started doing the UV Print for the lining of the fanny pack. My first try I used 100% Cotton but I did not like the way the print looked so I decided that for my final I would use 100% Nylon.
After that I decided to start by making the prototype of the front pocket. Since it was leather I knew I could encounter some problems when attaching the front pocket to the main body of the fanny pack
First Prototype Video
When I finished my first prototype I was extremely happy with the results. I knew that I would have to change a few things such as changing the fabric used in the lining and hand sewing the pocket before attaching the lining to look more clean. Since I changed the lining for nylon I knew that I would have to be more careful when sewing the leather and the nylon together
After the first prototype was done, it was time to start my final. I repeated all the process but now I printed on nylon, instead of cotton
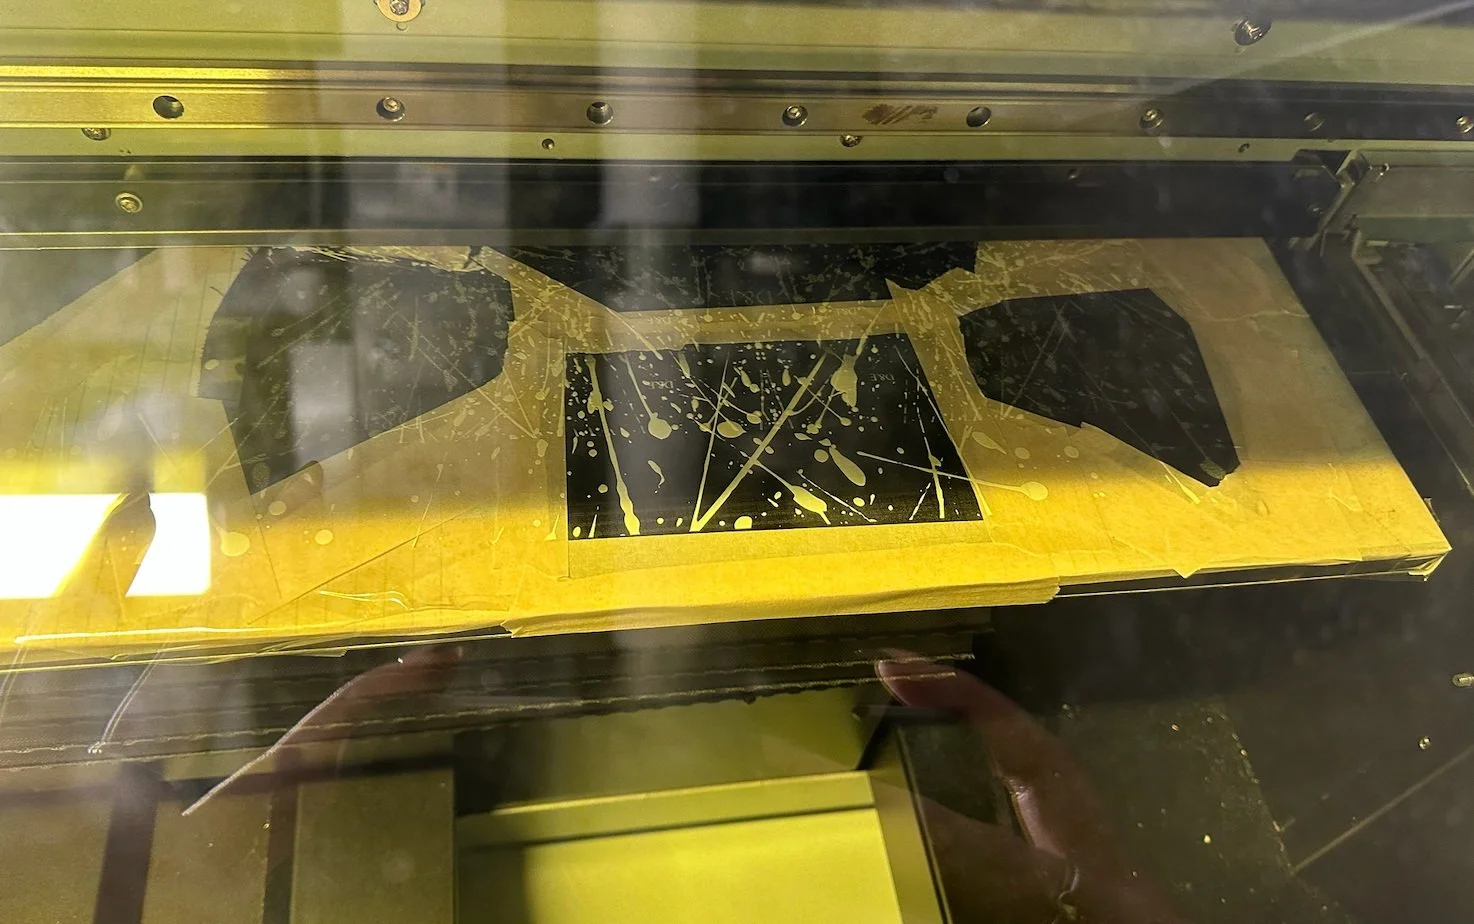
This picture shows what the UV print looked like after sewing the lining to the main body of the fanny pack
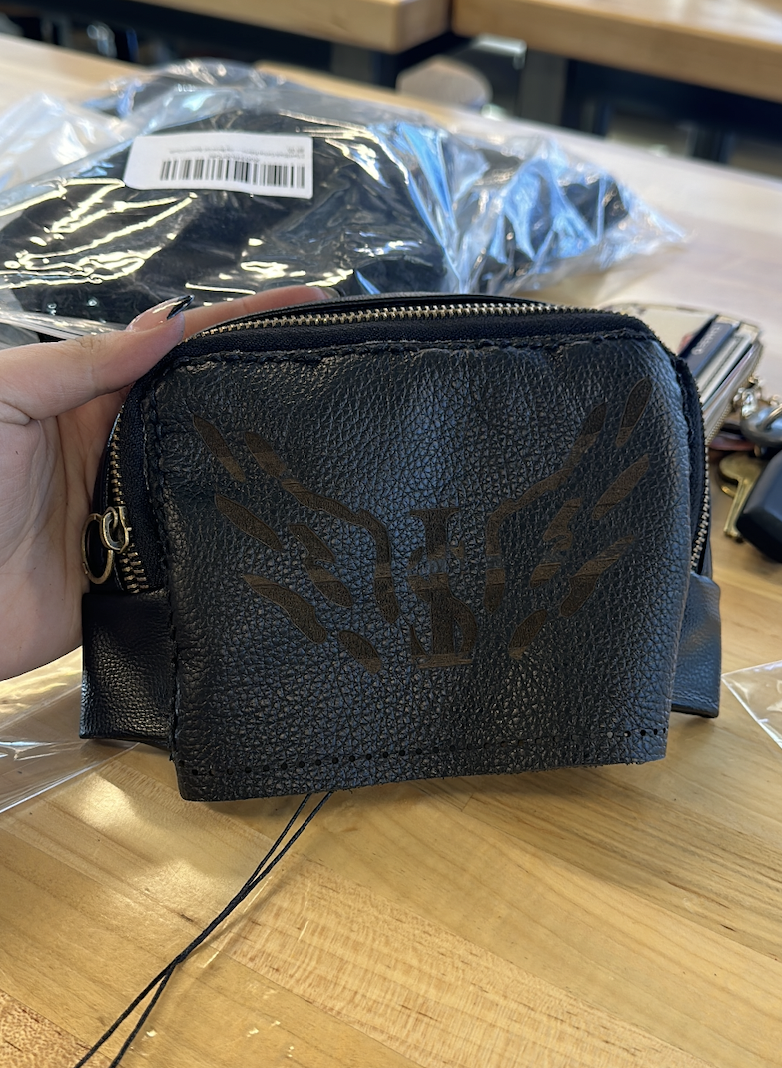
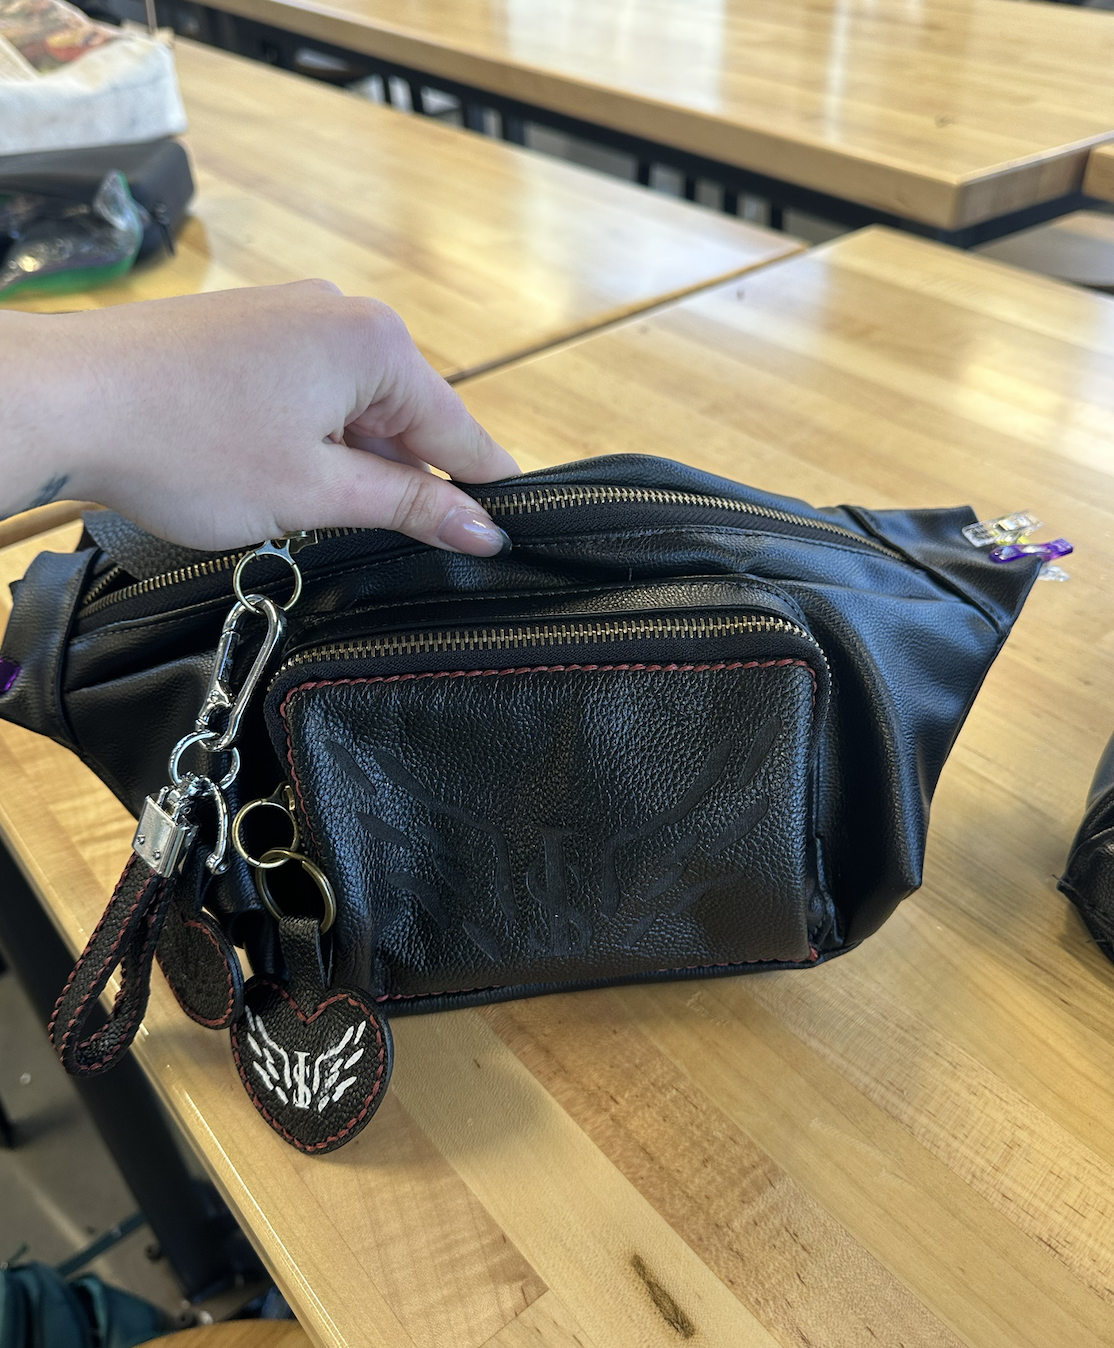
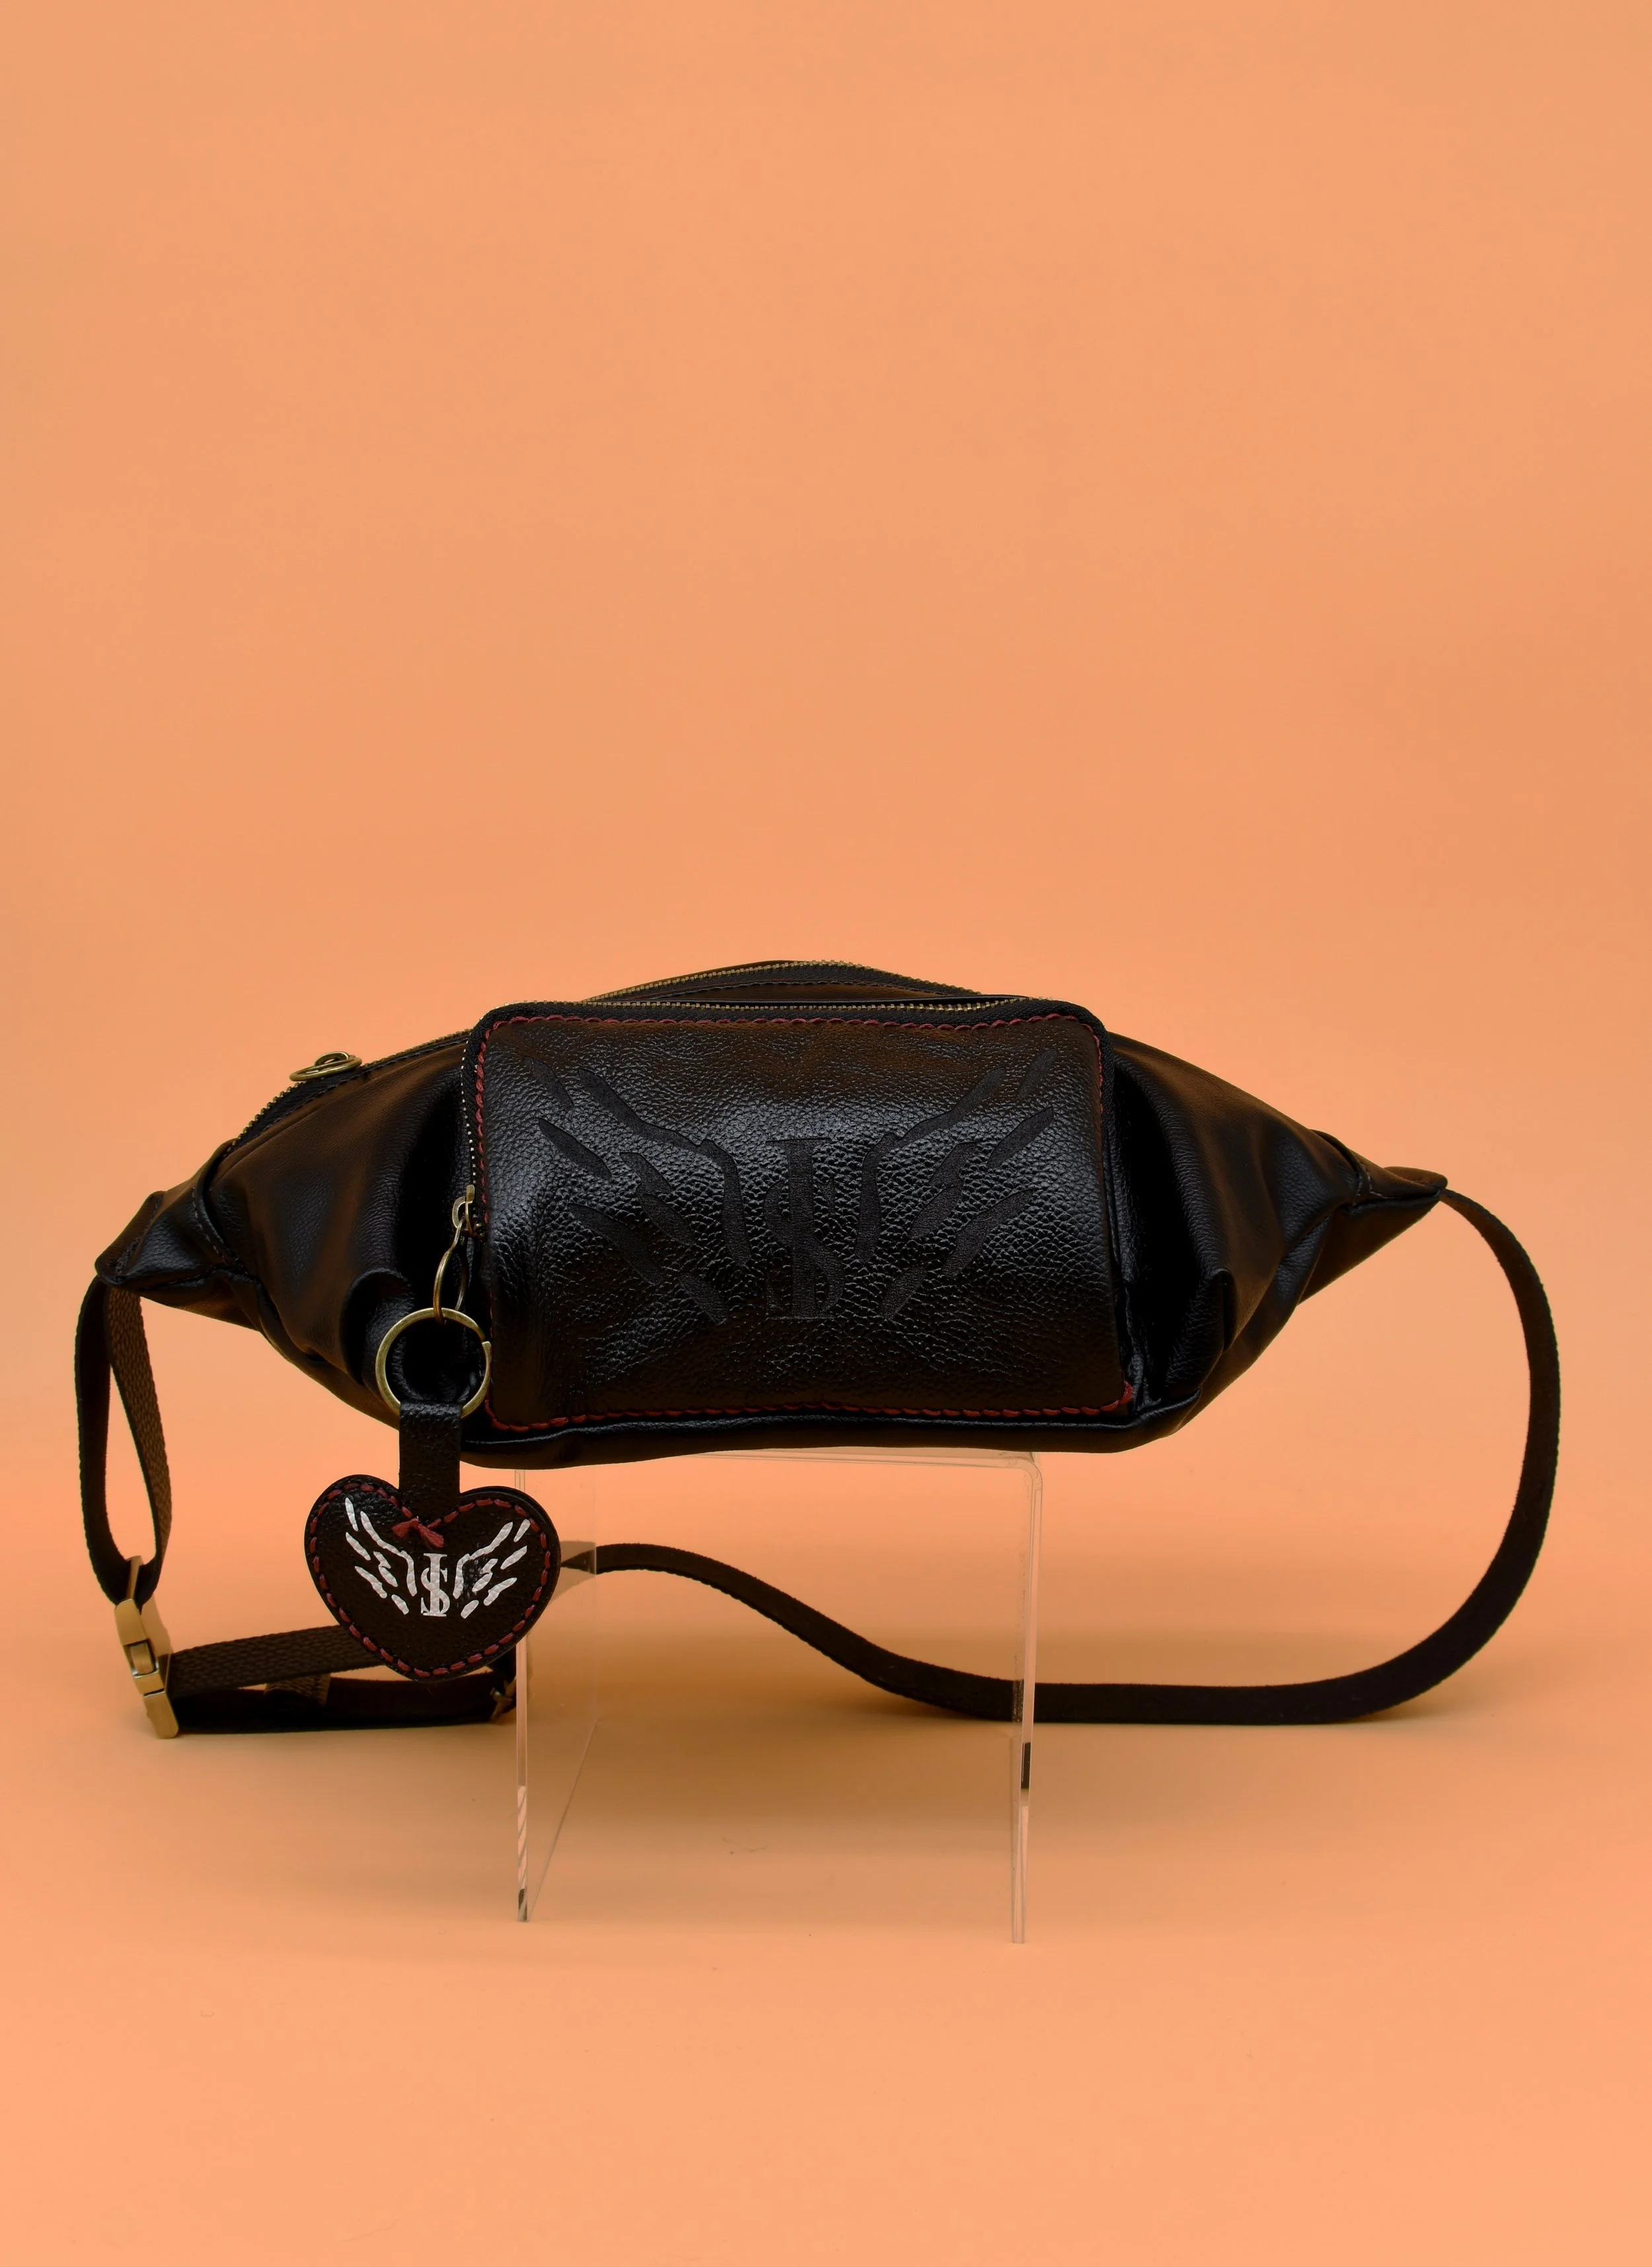
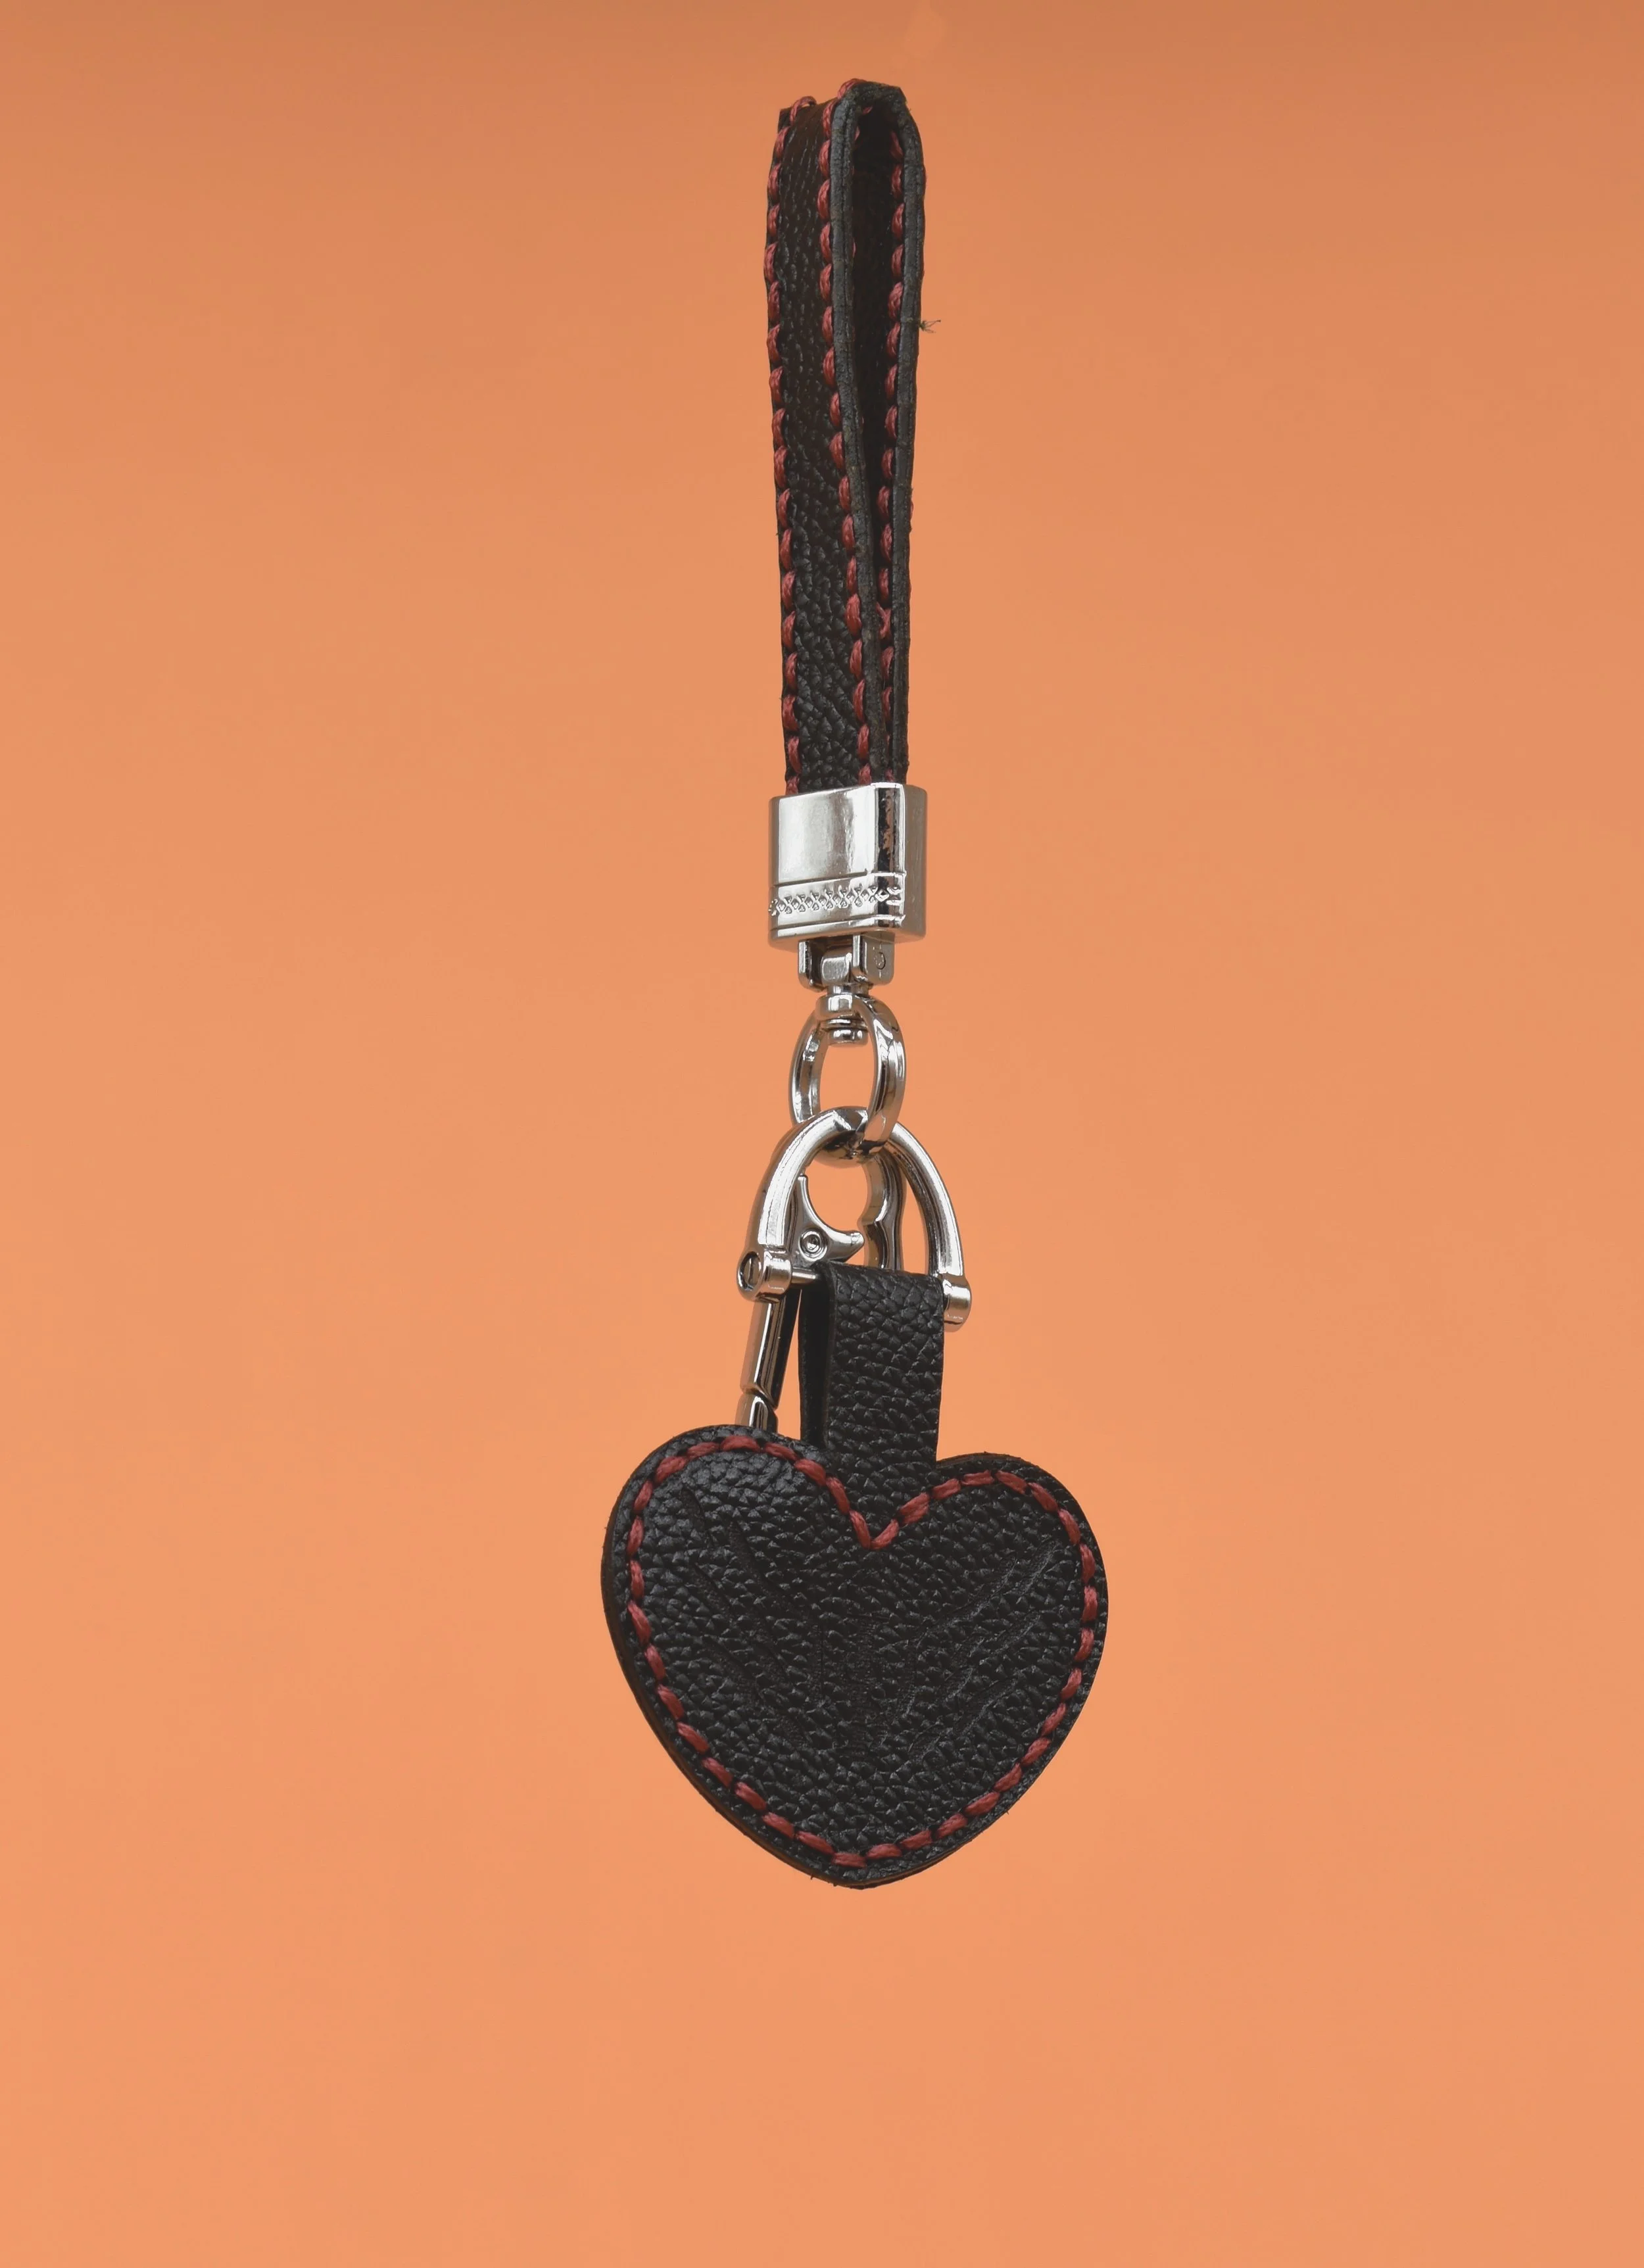
This picture shows the fanny pack almost finished with a charm and a key holder